Documentation
Getting Started
- Introduction
- Setup
- General Settings
- WooCommerce
- Tools
- Analytics Reports
- Dashboard
- License
- Generator
- Activations
- Applications
- Installed On
- API Logs
- WooCommerce Products
- Customer License Manager Flow
Integrations
For Developer
SDK Integration for License Manager
- Now, If you are creating an application for a WordPress plugin or theme, go to this GitHub link to download the repository.
- If you are building an application for a SaaS or custom software solution, use this GitHub link to download the repository.
- Once on the GitHub page, click the download button to get the repository. In this guide, we are creating a WordPress plugin application, so we will be using the Plugin and Theme SDK.

Note: If you are building an application for a SaaS platform or desktop software, please download our SDK from this [GitHub Repository Link].

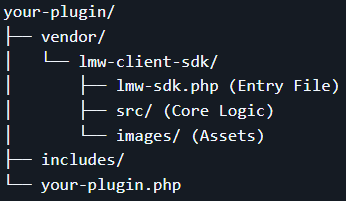
- Now, add the downloaded sdk folder into your plugin or theme’s vendor directory. Your file structure should look like this:
Note: This step is identical whether you are creating an application for a WordPress theme/plugin, a SaaS platform, or desktop software.
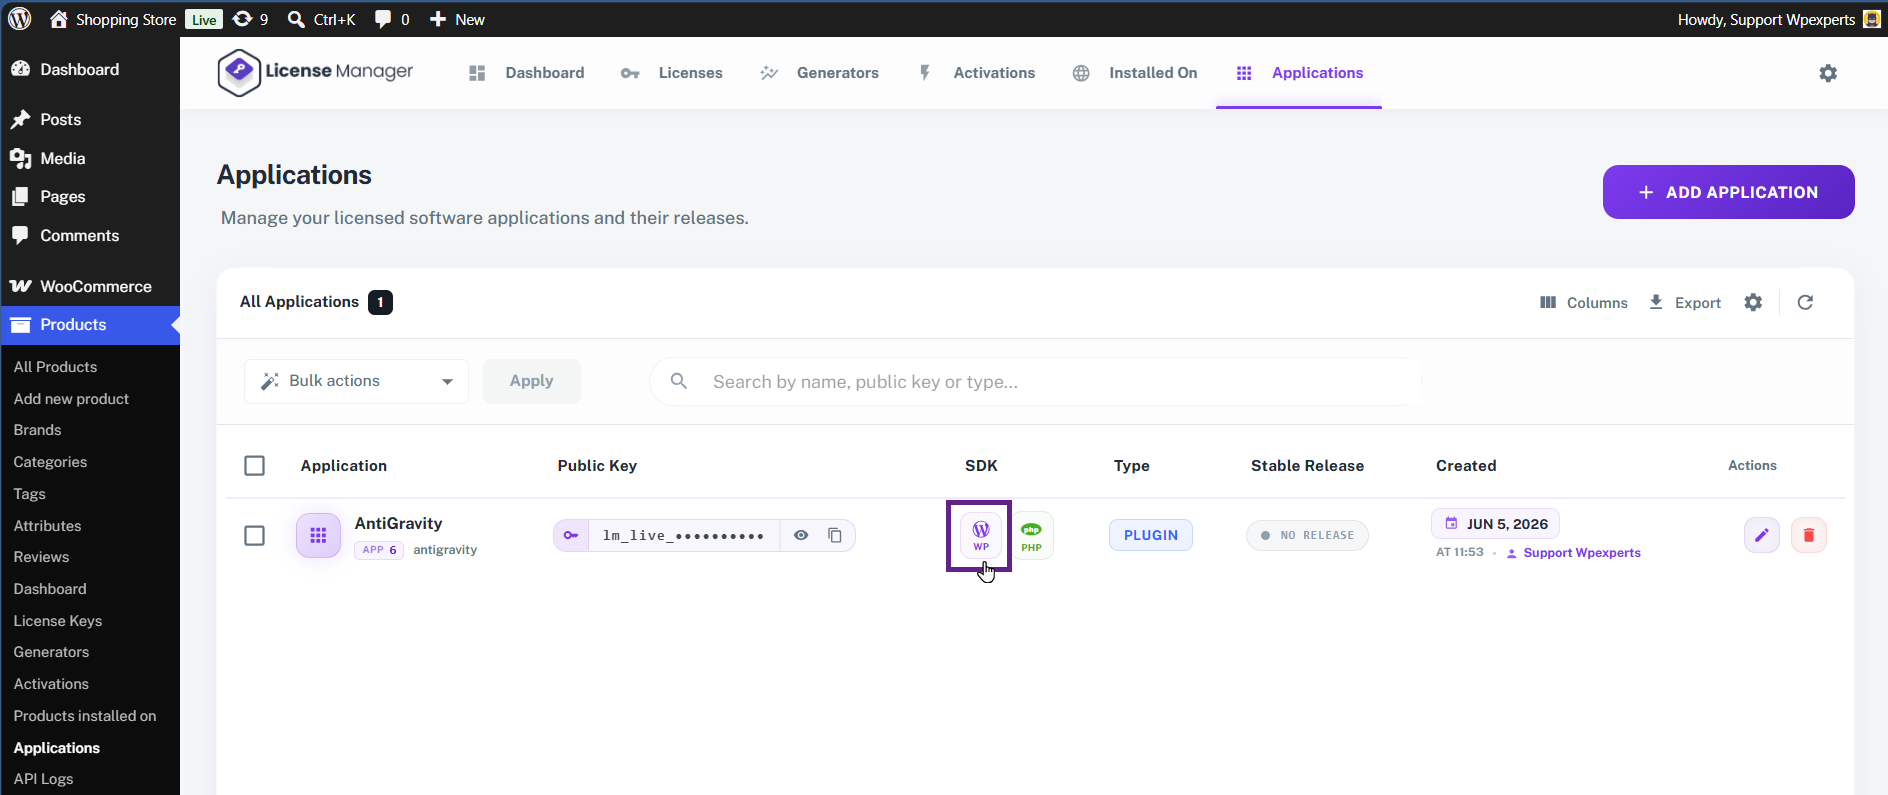
- Now, select the WordPress Plugin SDK option, as in this case, we are creating a WordPress plugin.
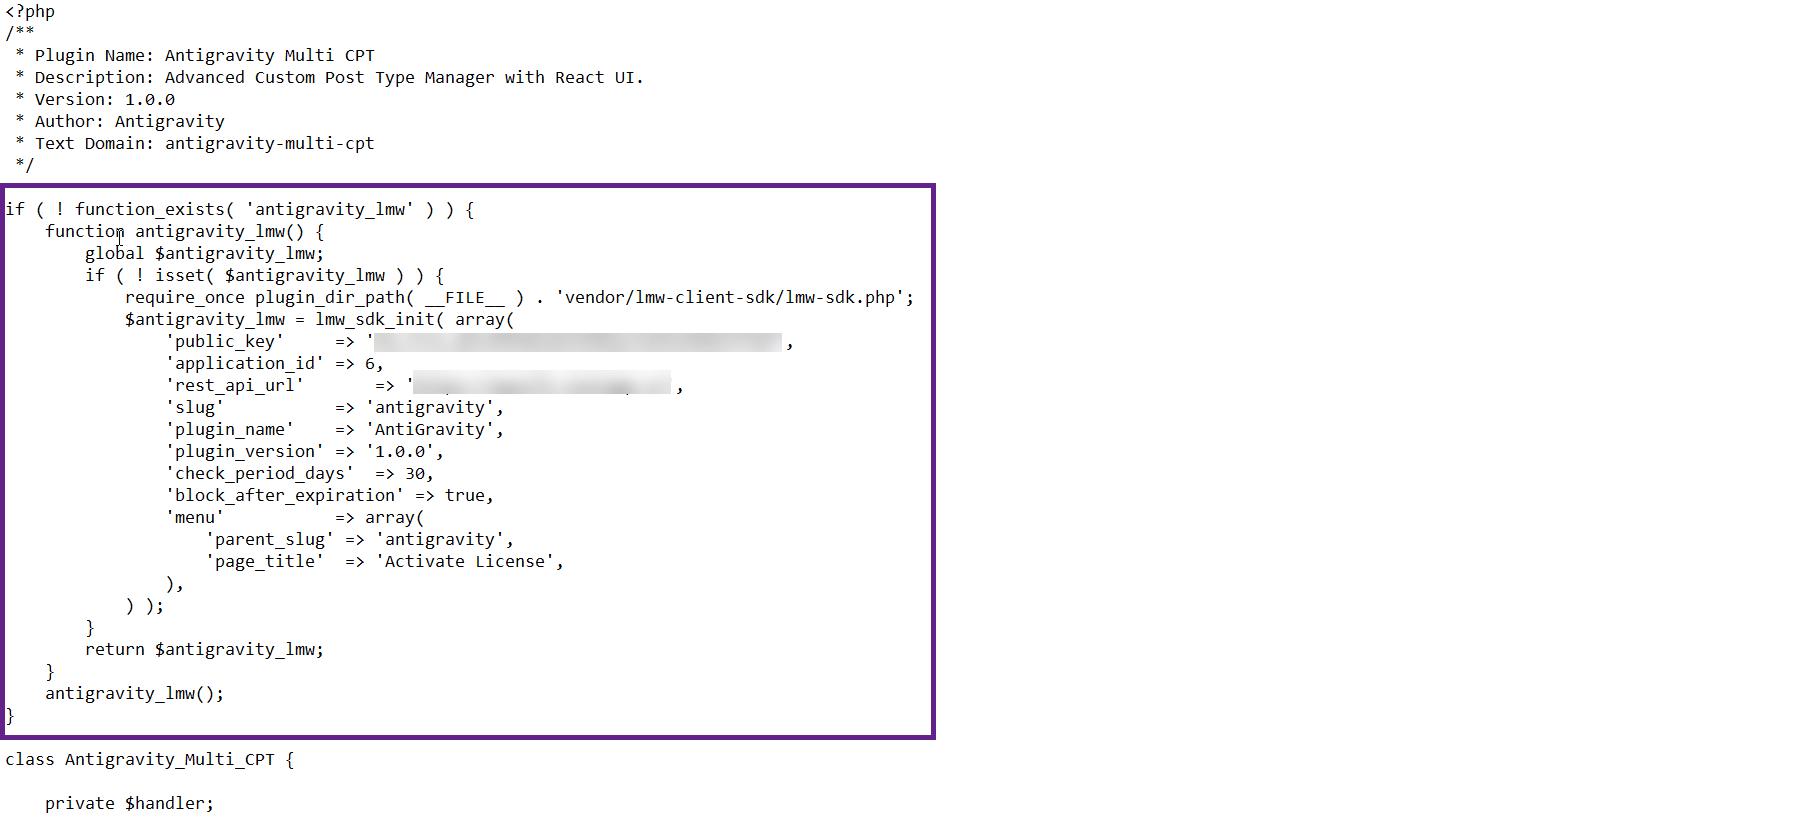
- Click the Copy button to copy the code snippet to your clipboard.
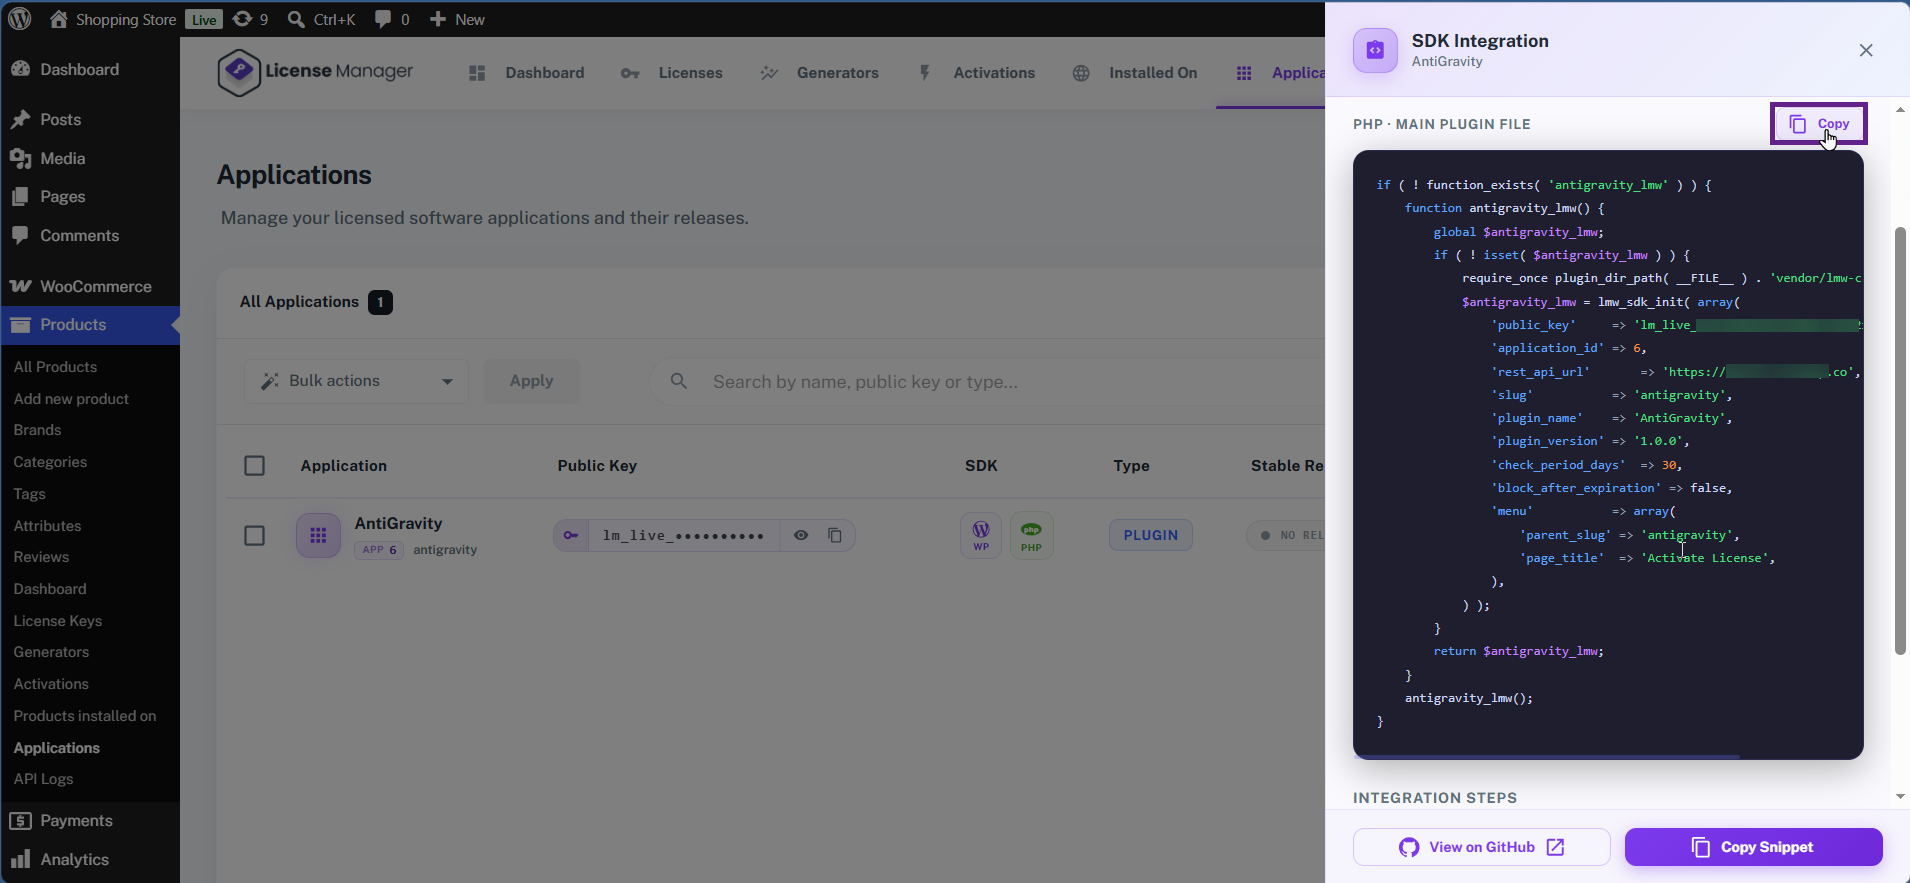
- Next, paste the copied code snippet into the main PHP file of your plugin.
- For SaaS or desktop software applications, click the SaaS PHP SDK option to proceed with your setup.

- Copy the code snippet and paste it directly into your main PHP file.
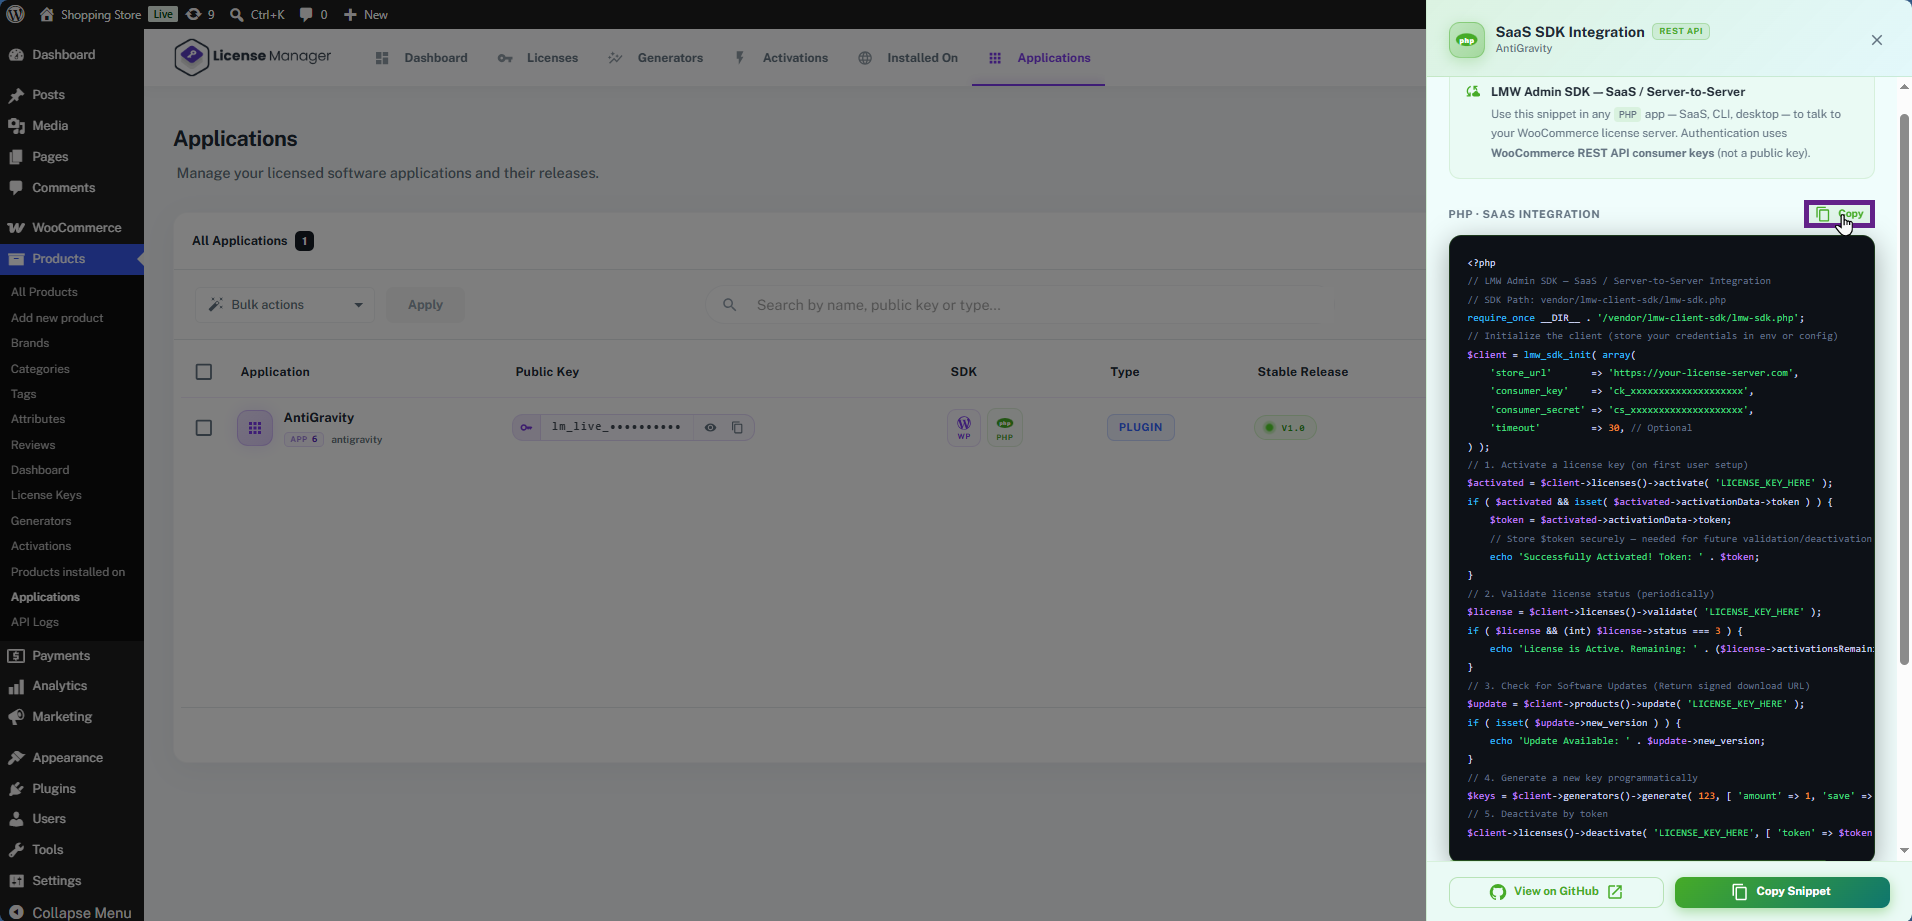
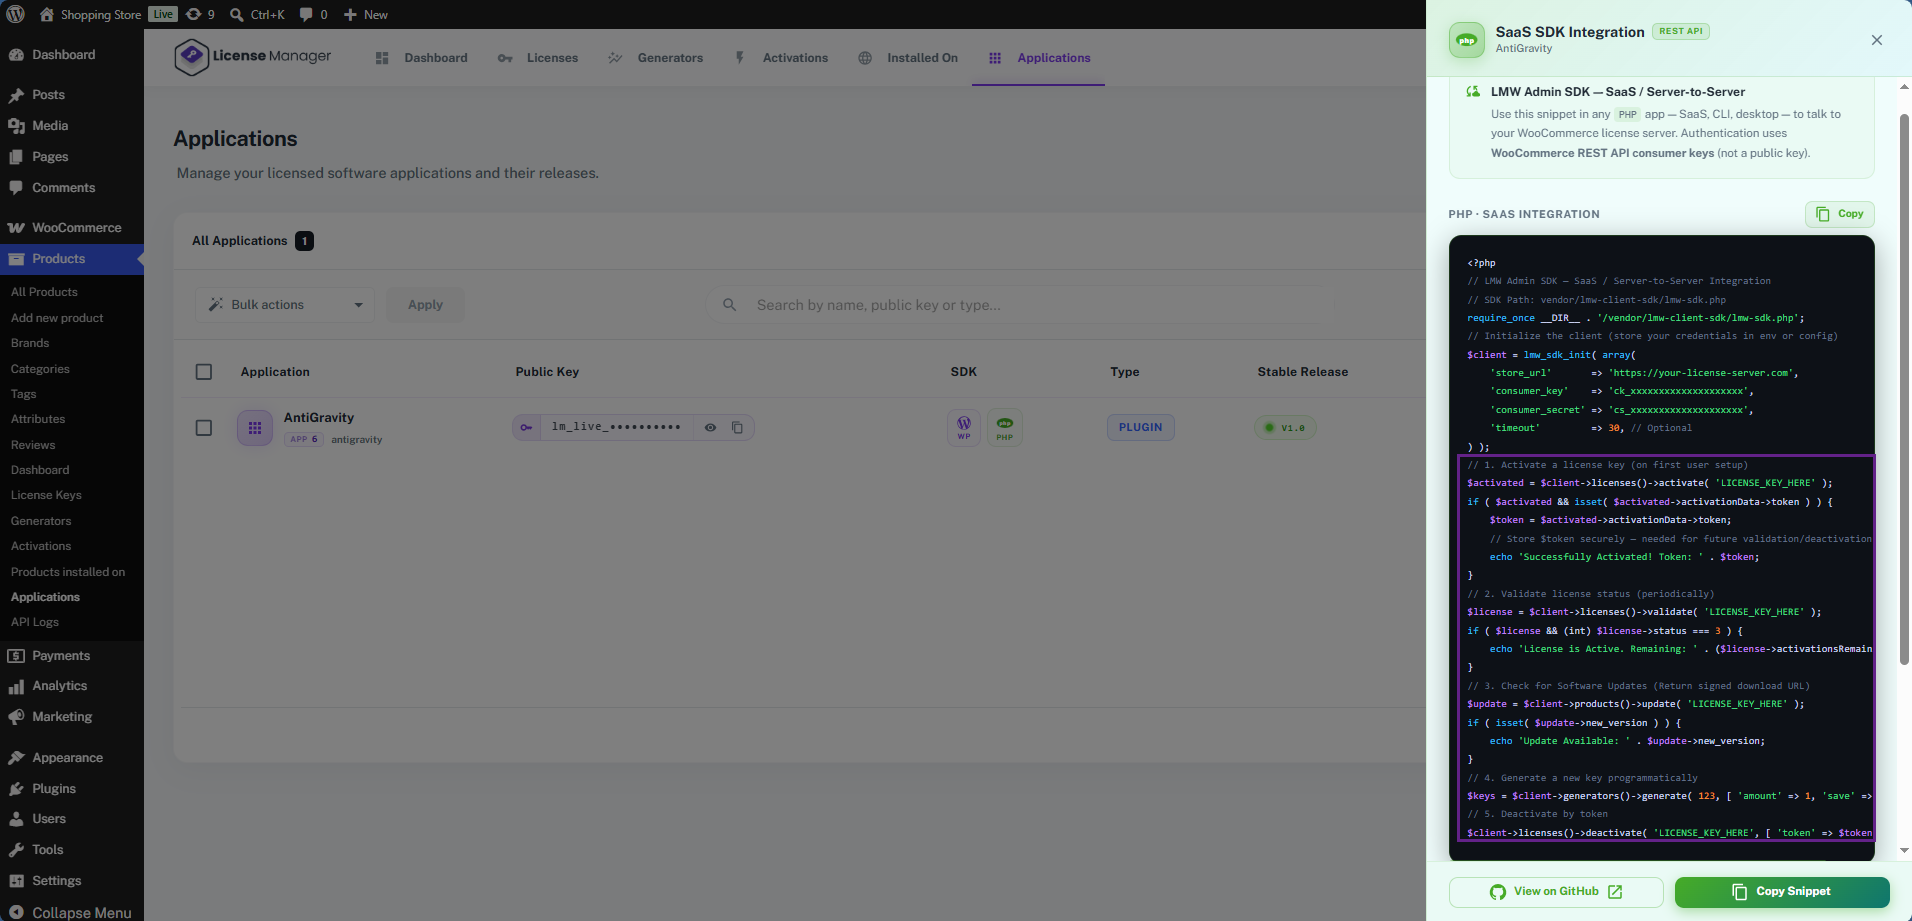
Note: These are only examples. You can use any of the provided snippets or modify them to suit your specific integration needs.
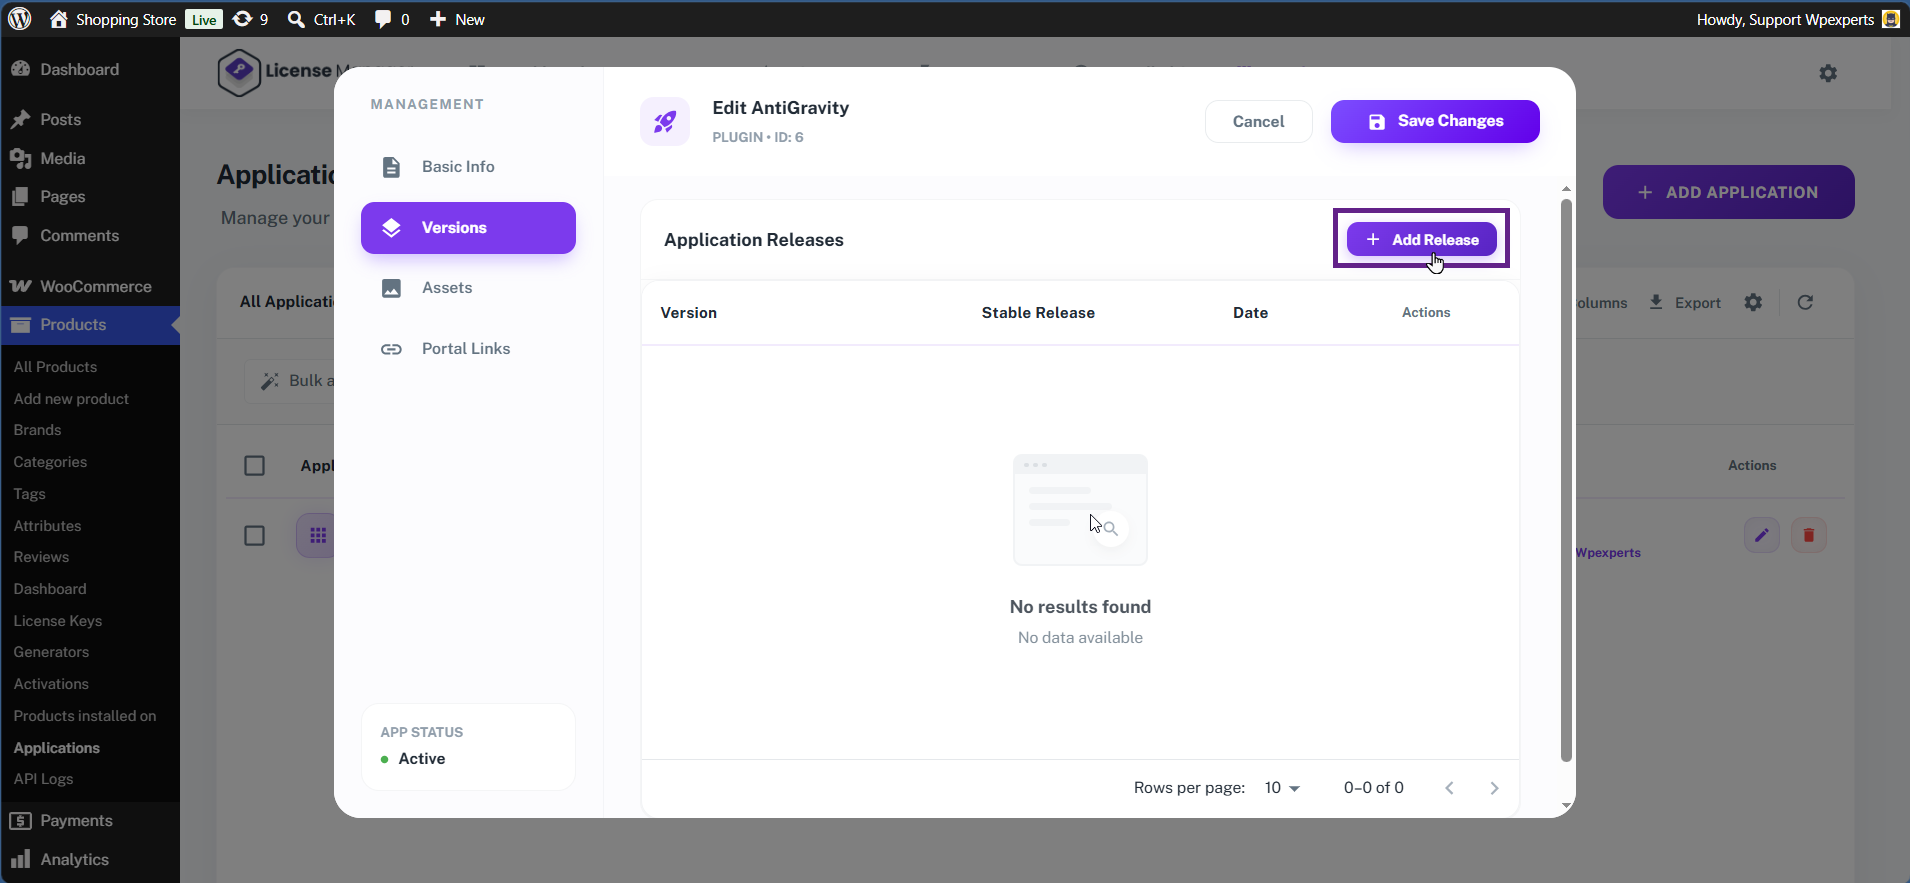
- Once done, return to the Applications tab and click the Edit button next to your application. This is where we will upload the updated plugin file containing the License Manager SDK to the application entry you just created.

Adding an Application Version
- In the Versions tab, click the Add Release button.
- Enter the version of the plugin.
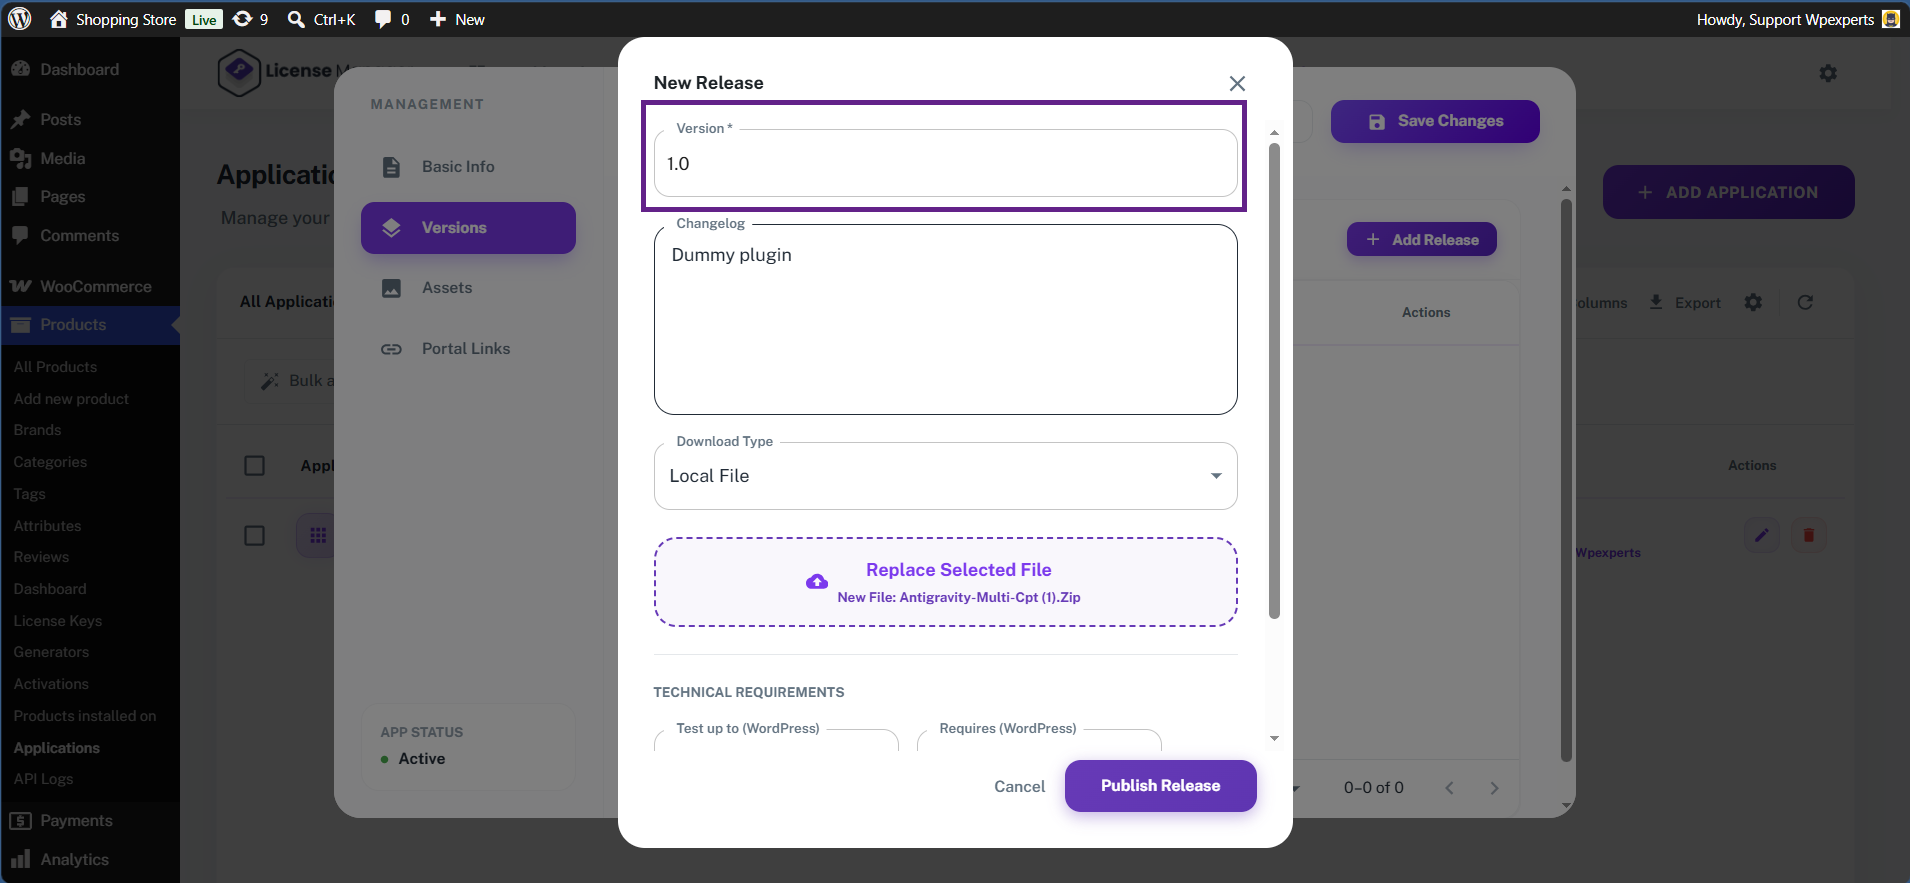
- Next, enter the changelog.

- Upload the ZIP file of the plugin containing the integrated SDK.
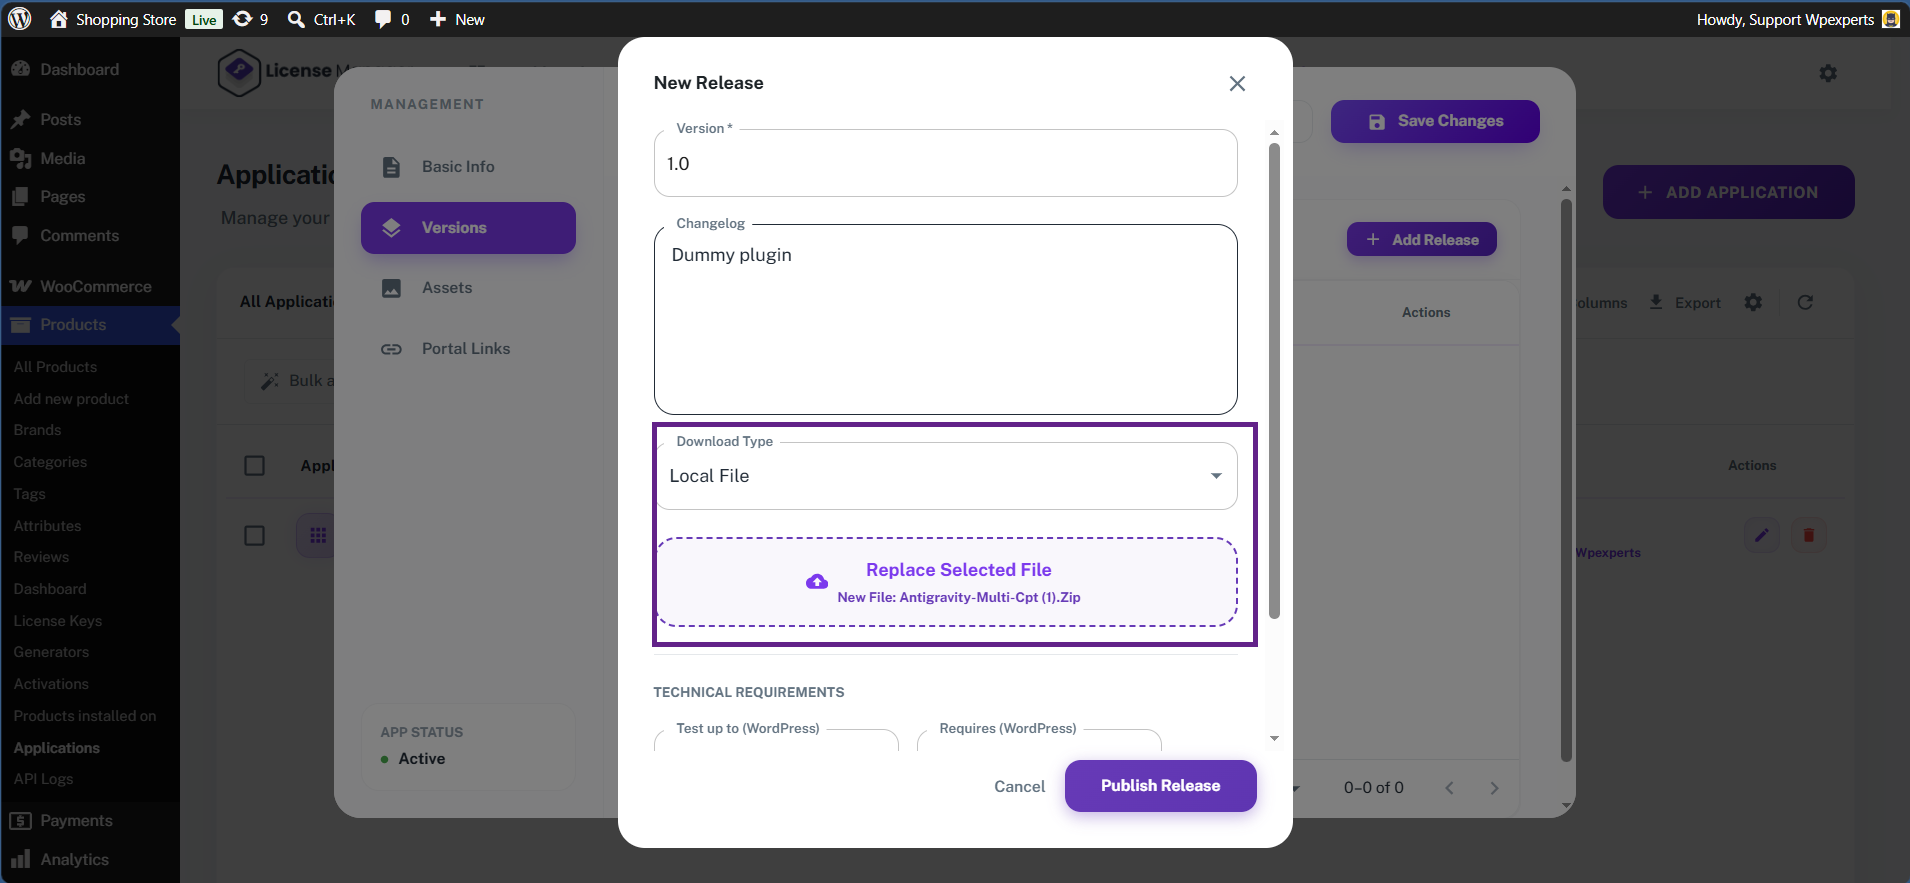
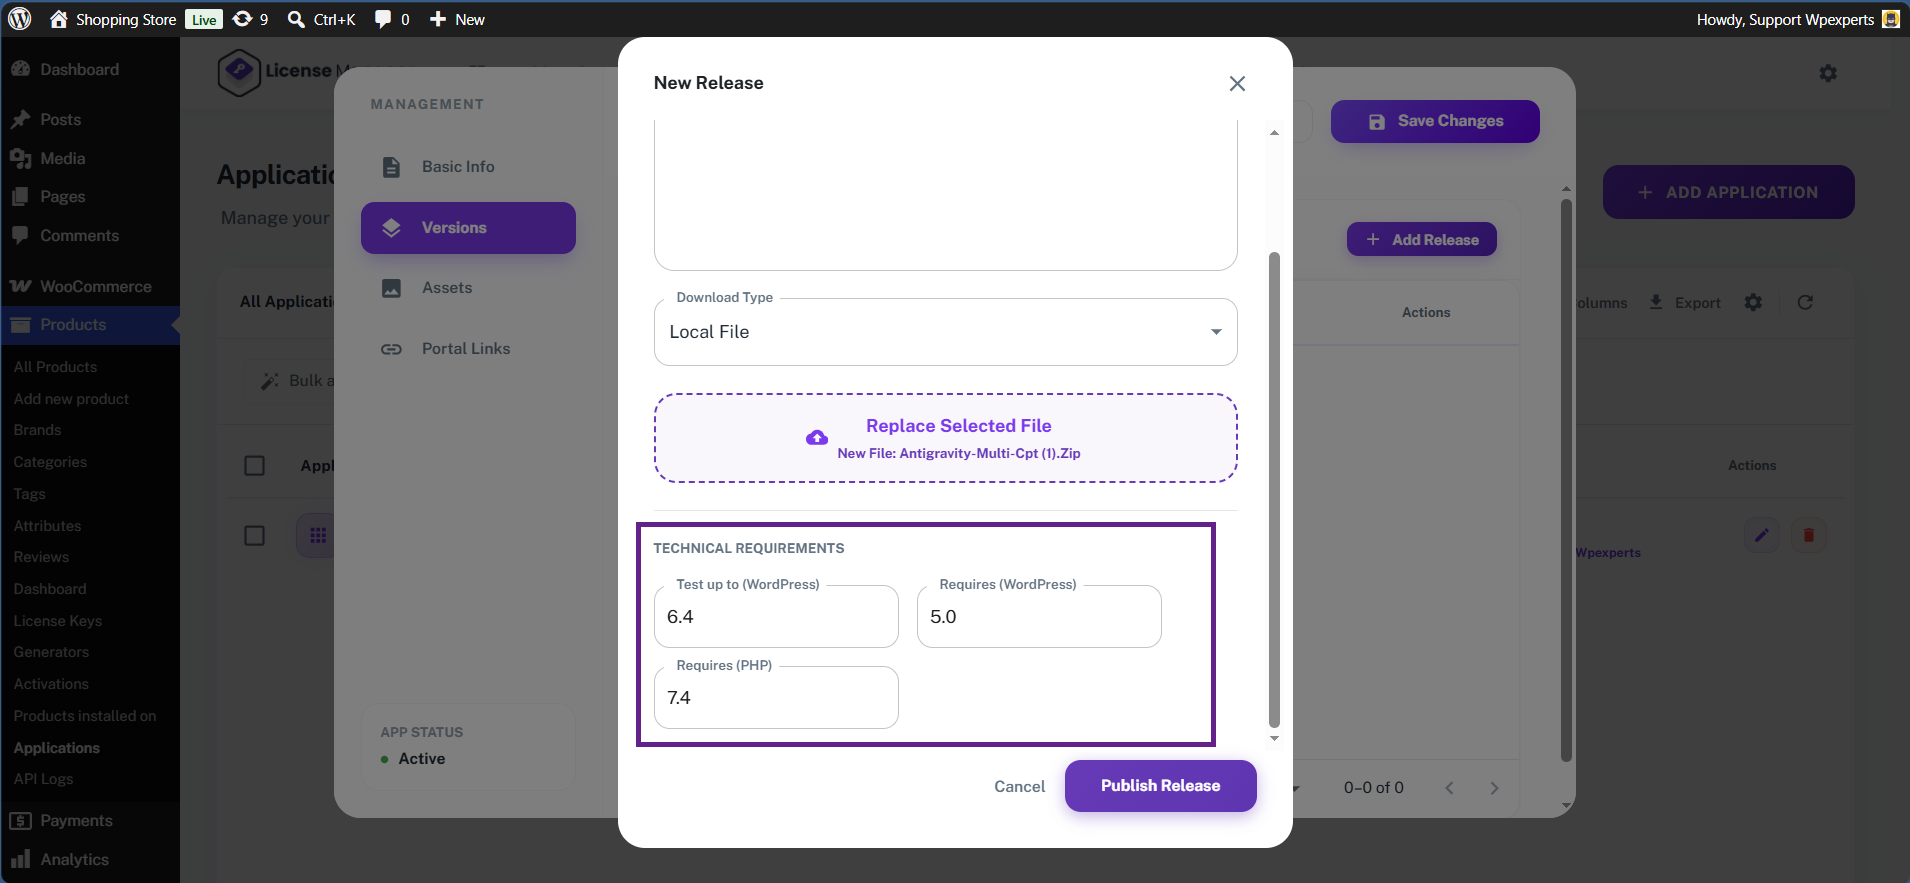
- Enter the technical requirements of the plugin.
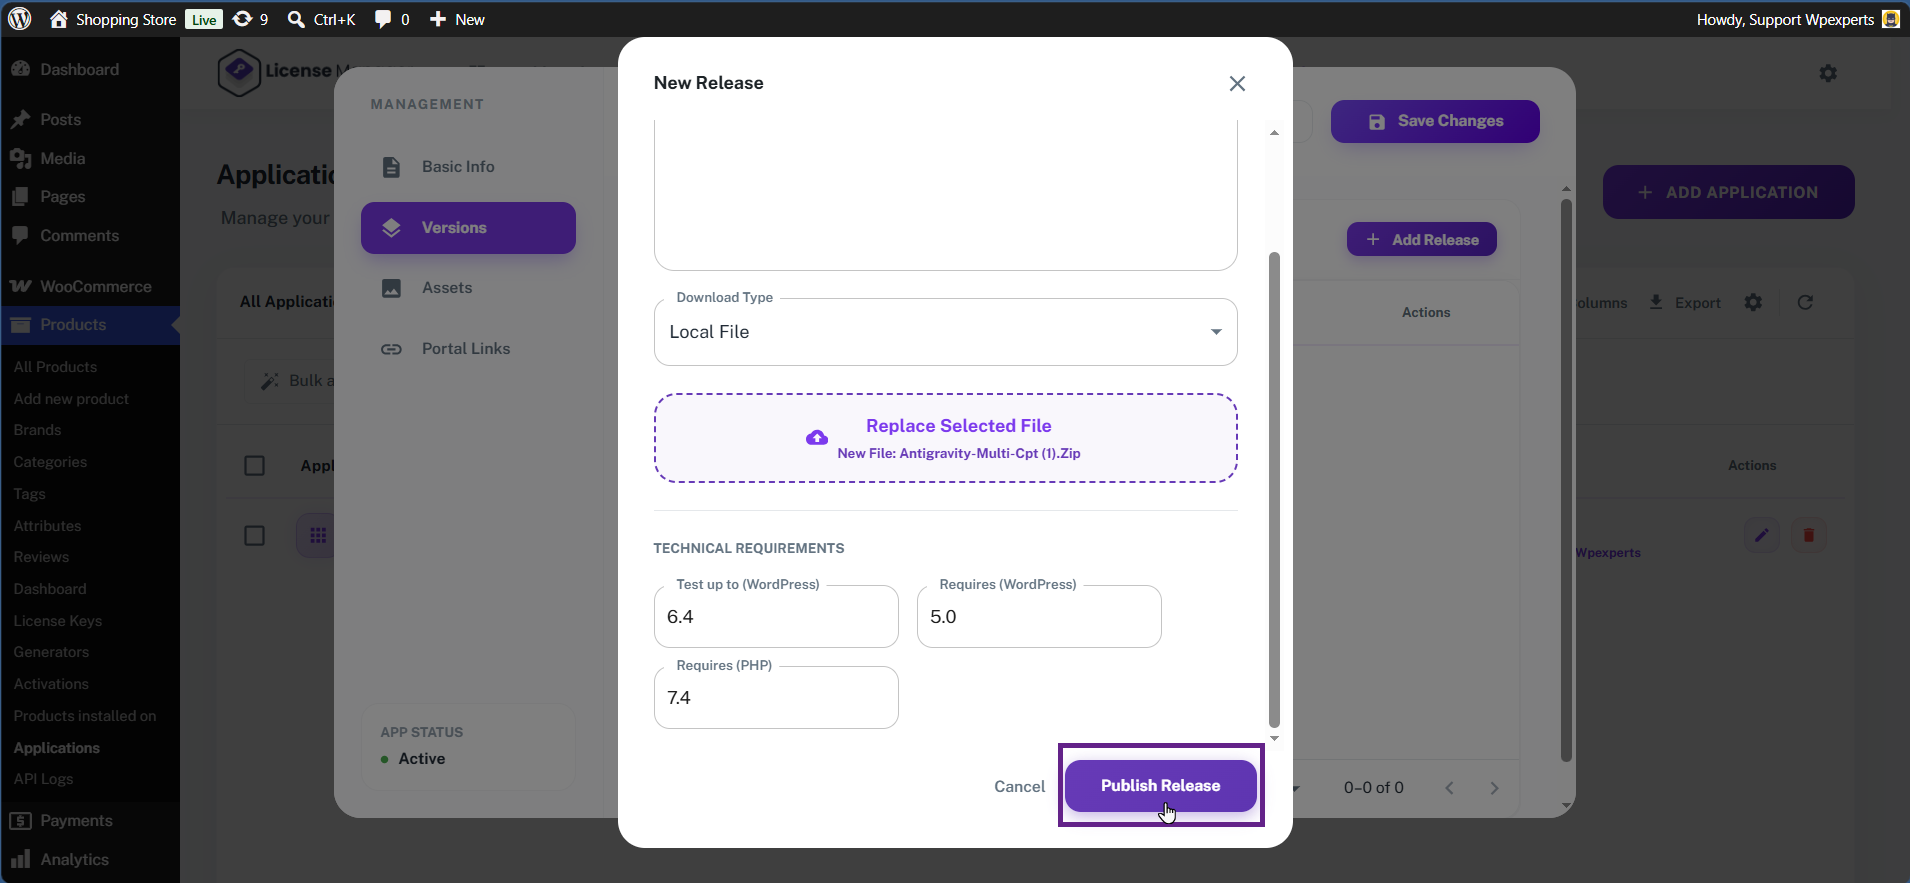
- Once done, click the Publish Release button.
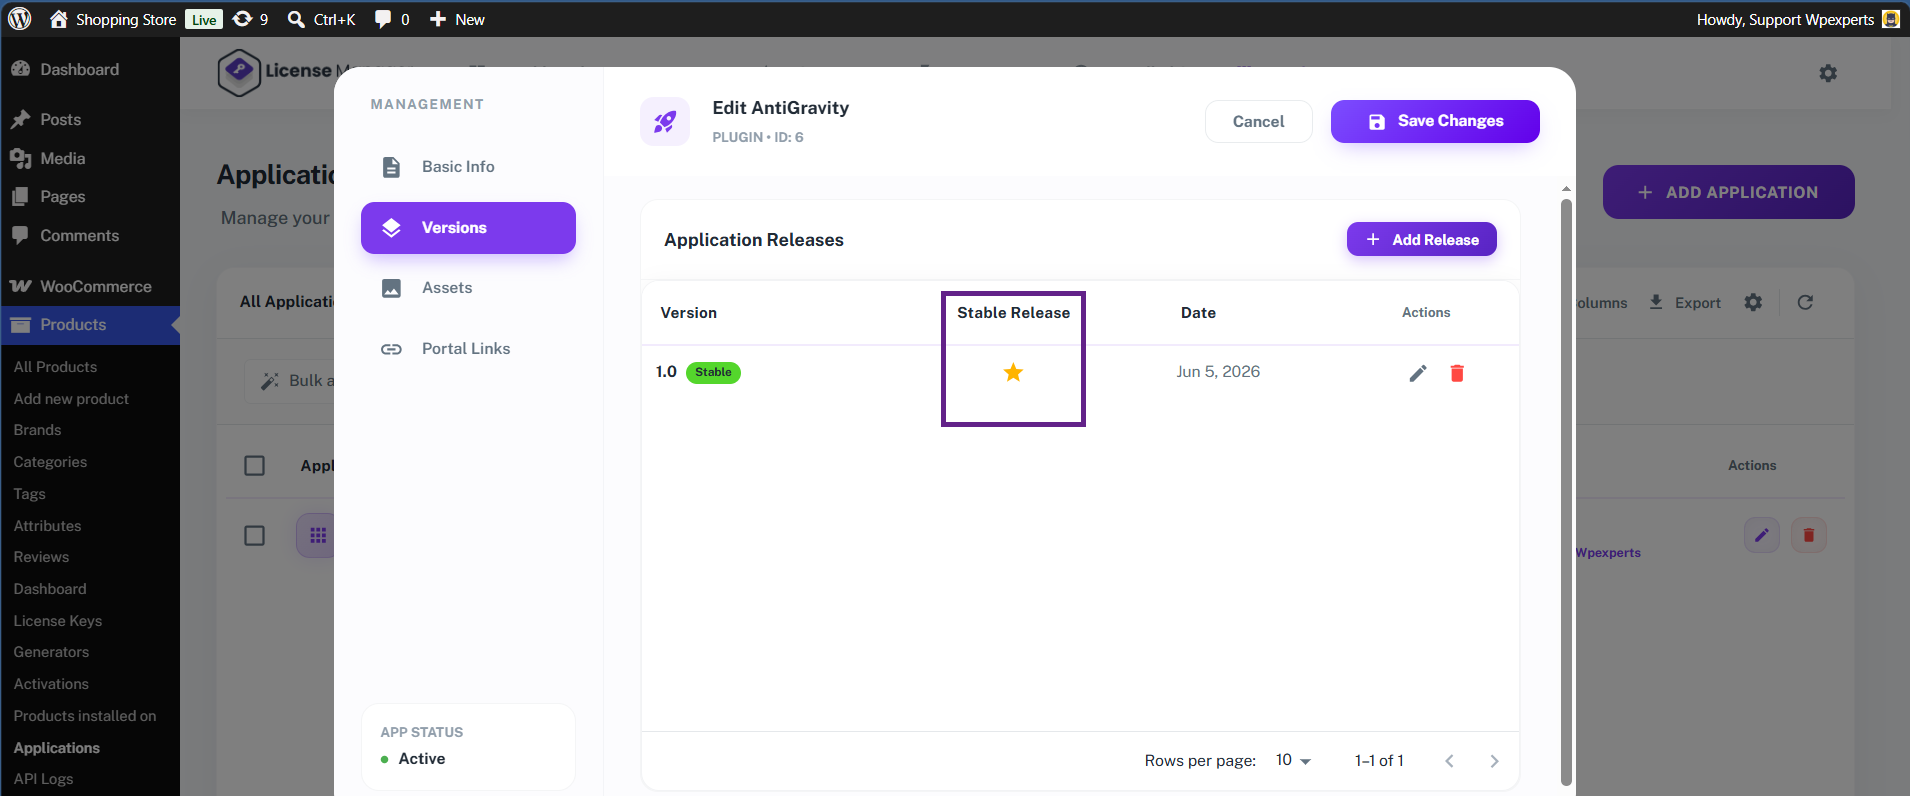
Marking the Current Version as Stable
- Mark the plugin version stable.
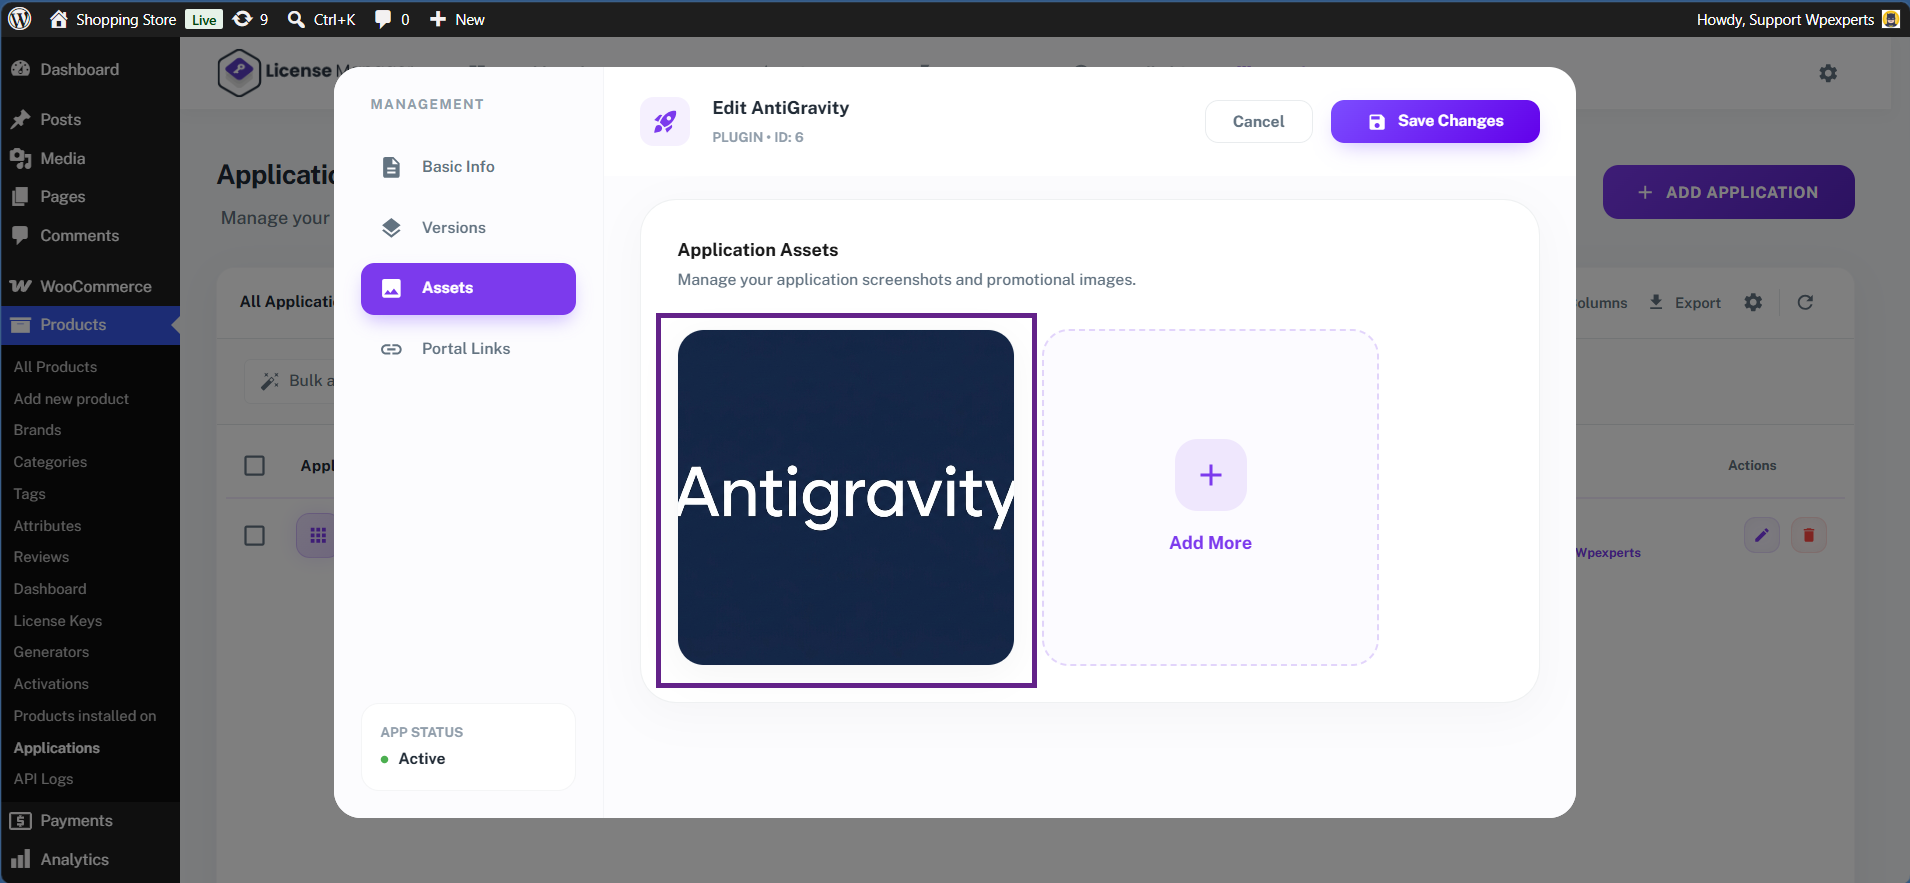
Application Assets
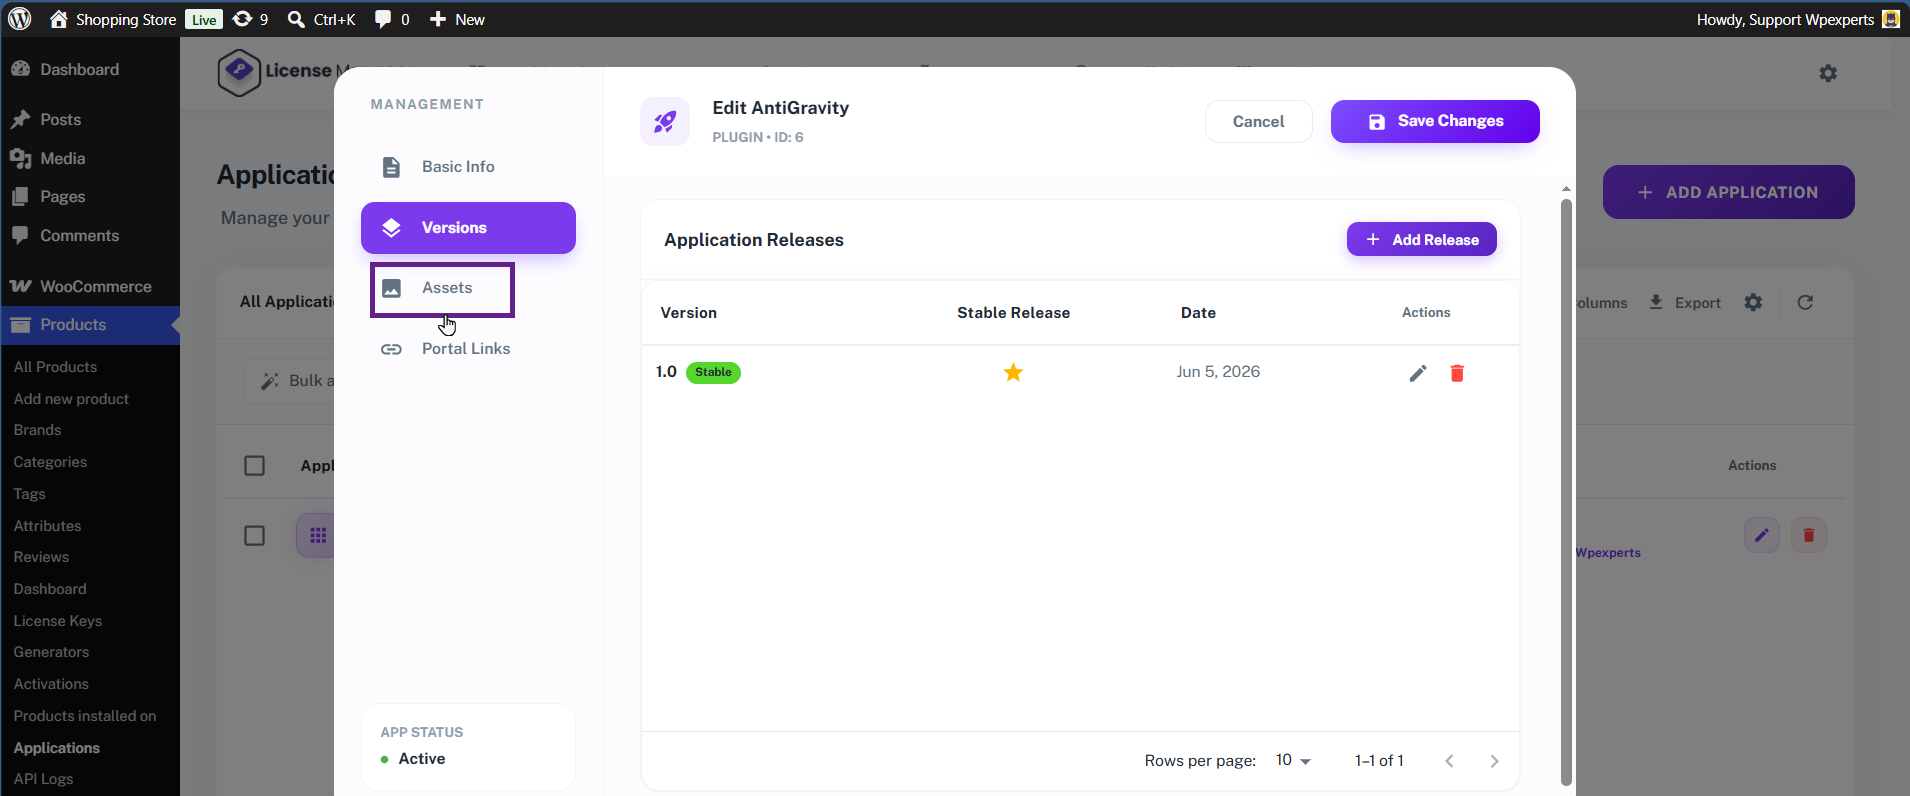
- Now, navigate to the Assets tab.
- Upload as many plugin screenshots as you would like.
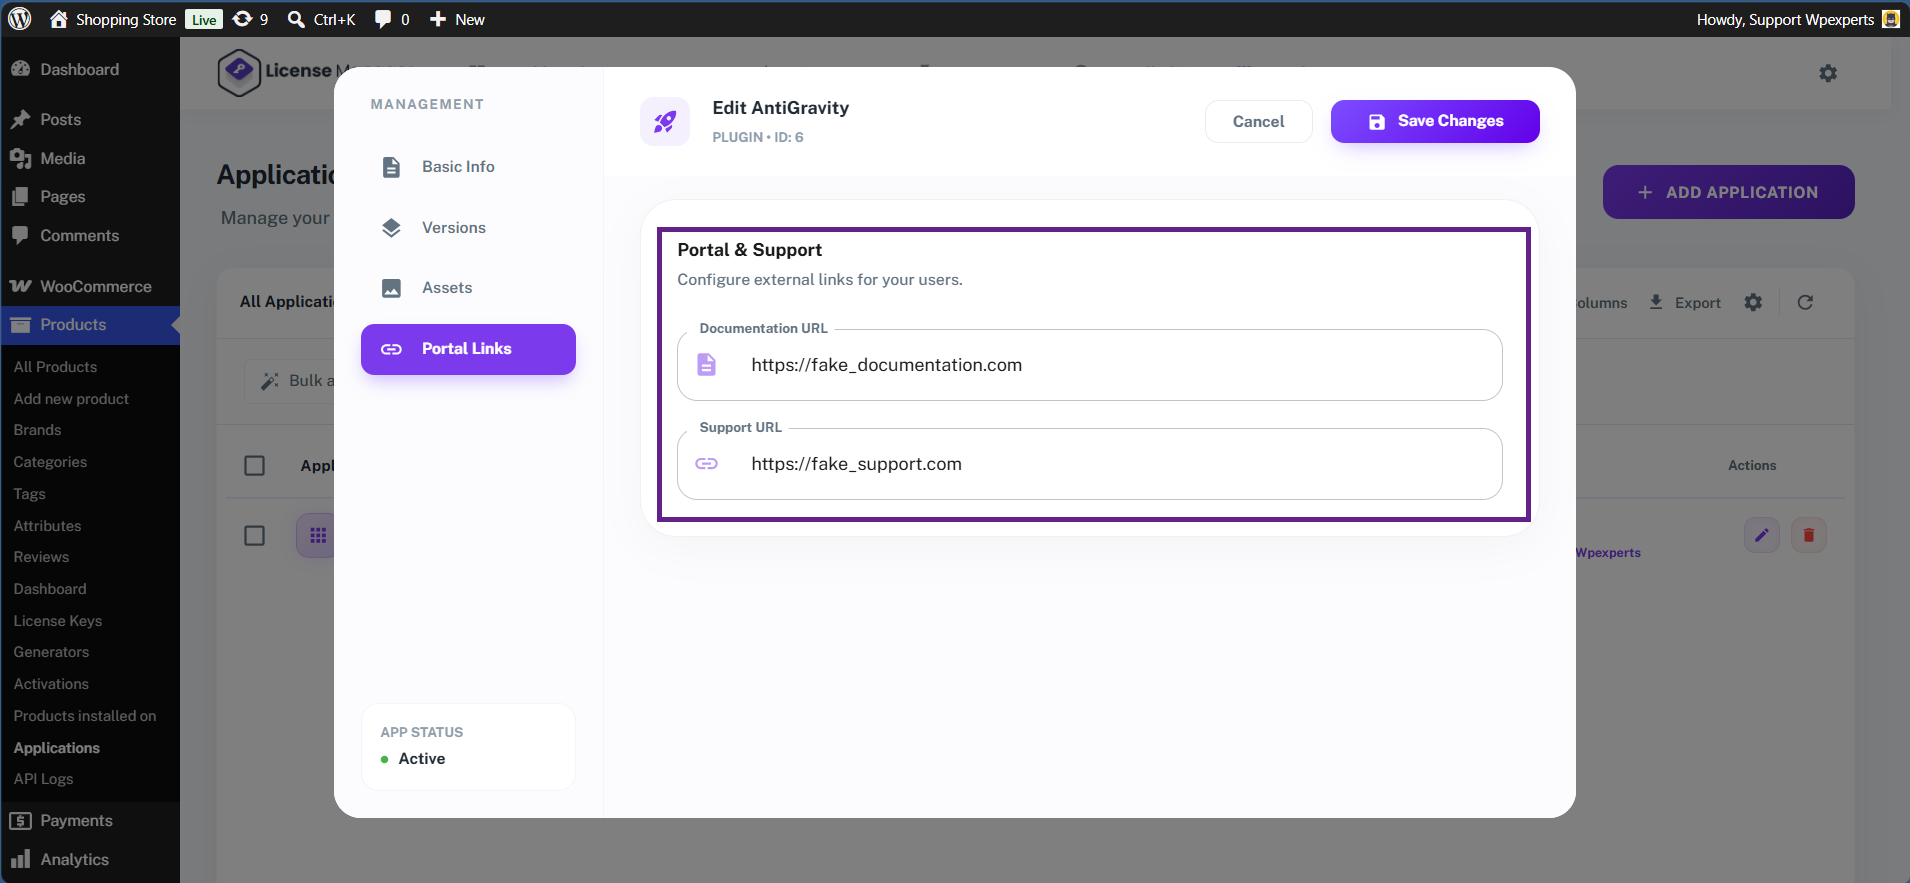
Portal Links
- Next, navigate to the Portal Links tab and enter your product’s documentation and support links.
- Once done, click the Save Changes button.
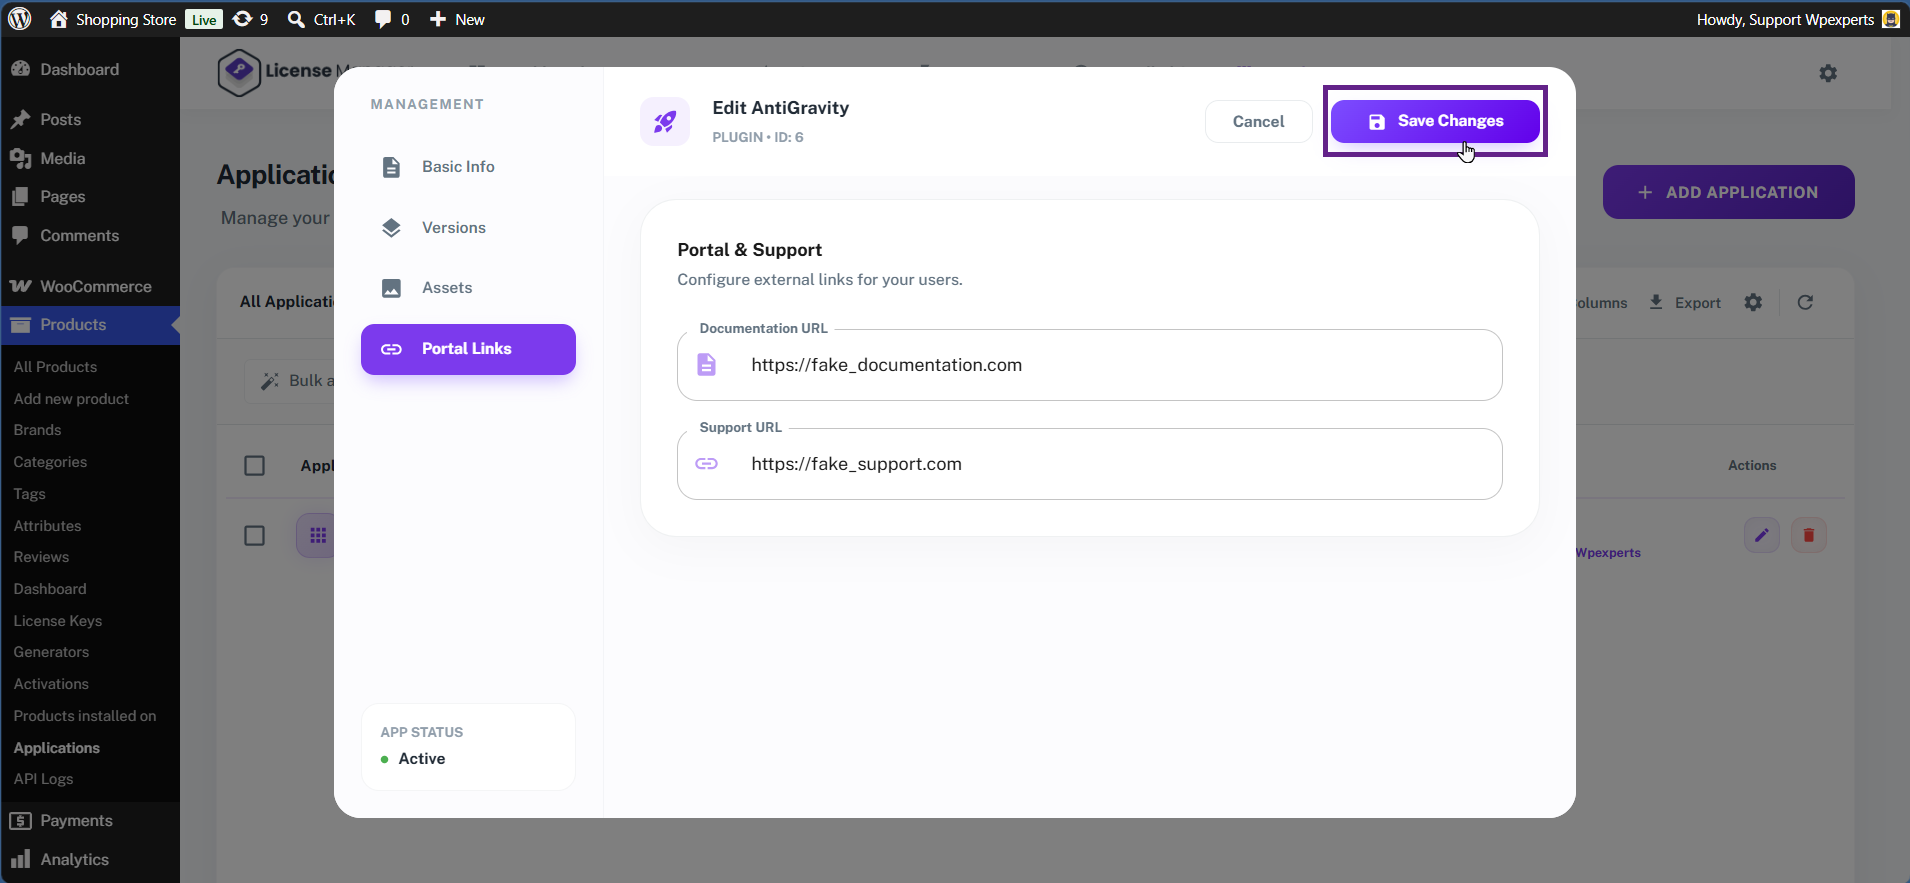
- Your application is now completely configured.
- Next, we will create a WooCommerce product and link this application to it. To do this, navigate to your WordPress Admin Dashboard > Products > Add New. Alternatively, you can link this application to an existing product by simply opening that product in edit mode.

Assign an Application to a Product
- Under the License Manager sub-tab, assign your application to the product.
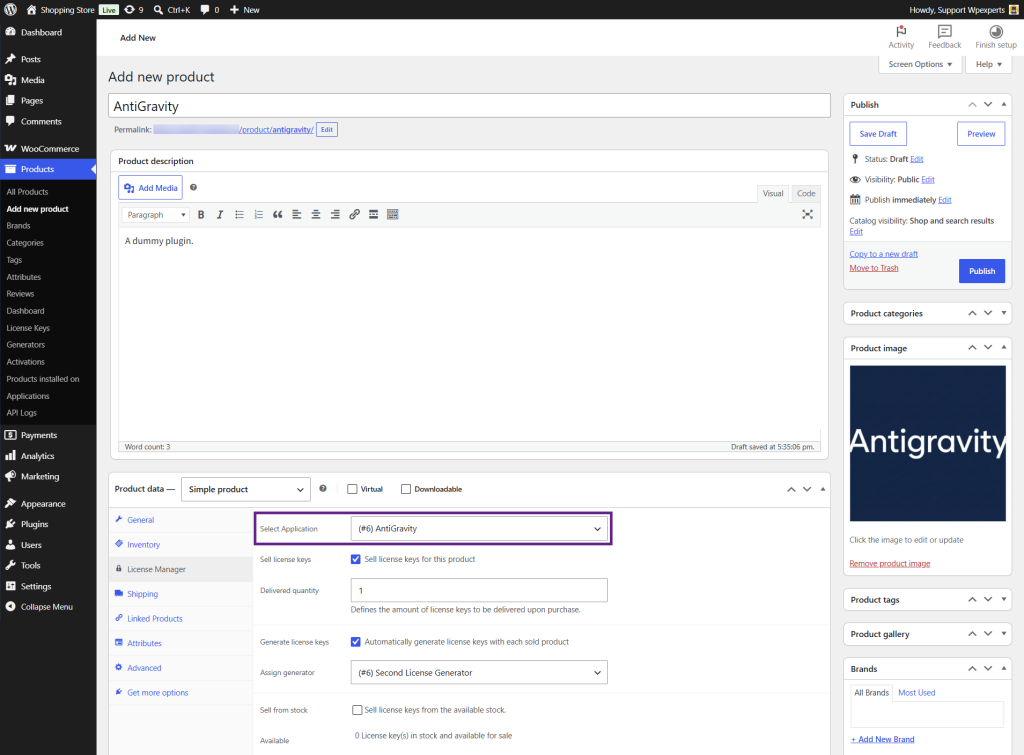
- Once you have assigned the application, click the Publish button. Your plugin is now officially configured and ready for sale!
Front-End Impact
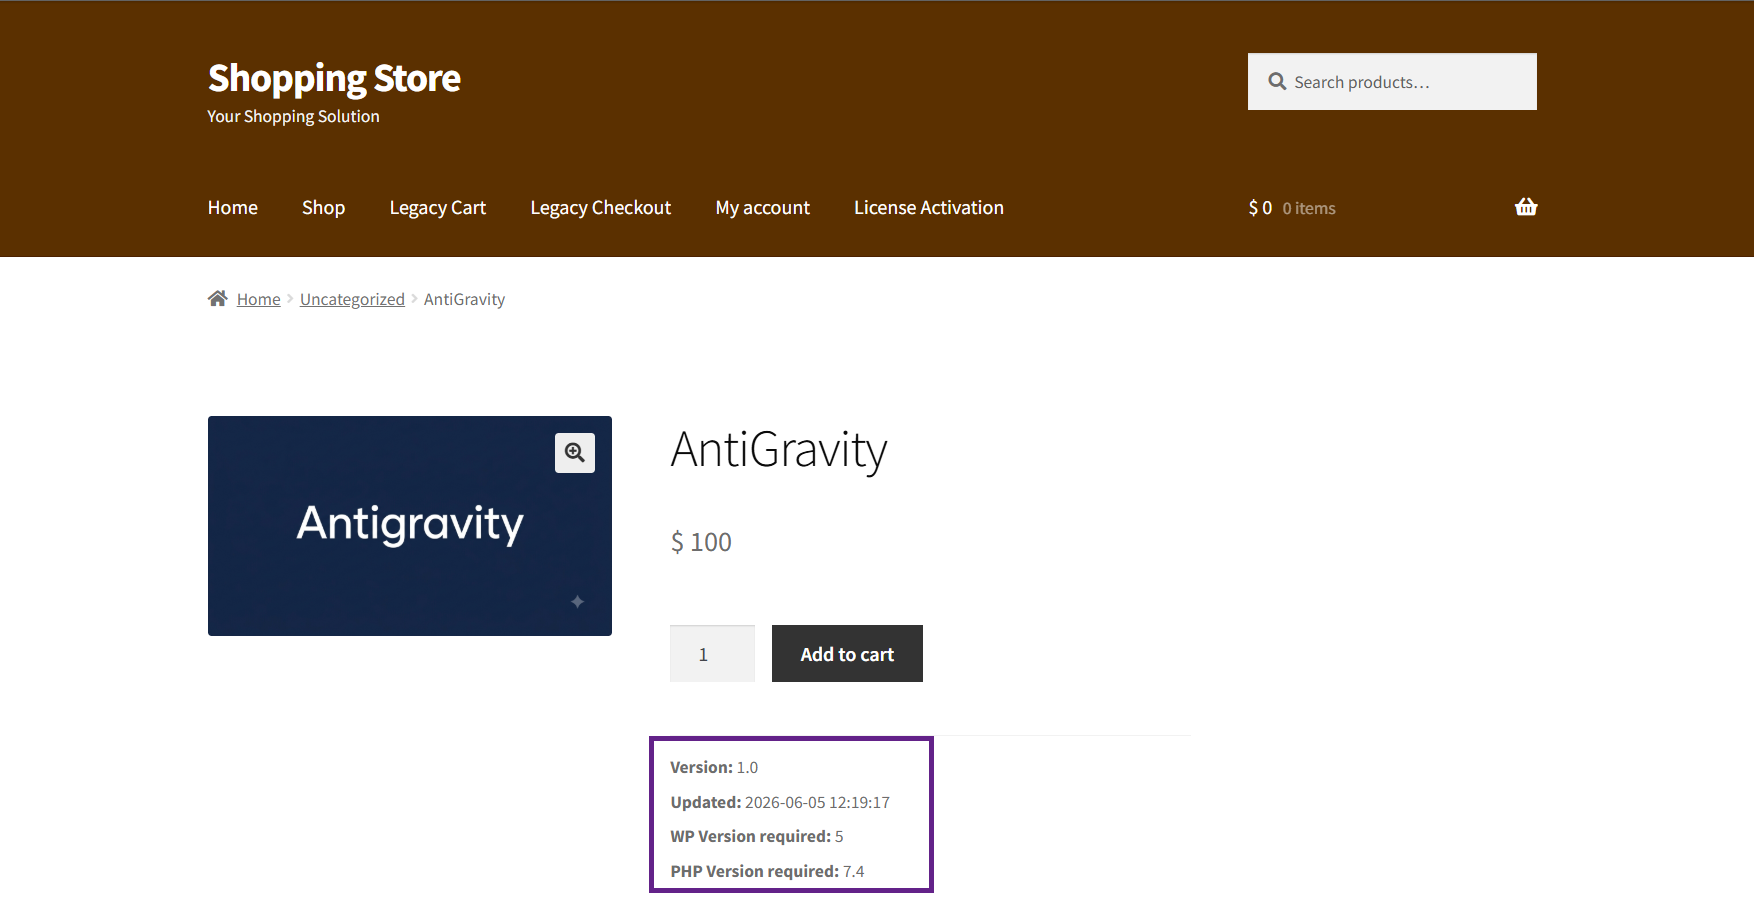
- Go to the website.
- Navigate to the Shop page.
- The plugin information is visible on the product page.
- Now, purchase the plugin.
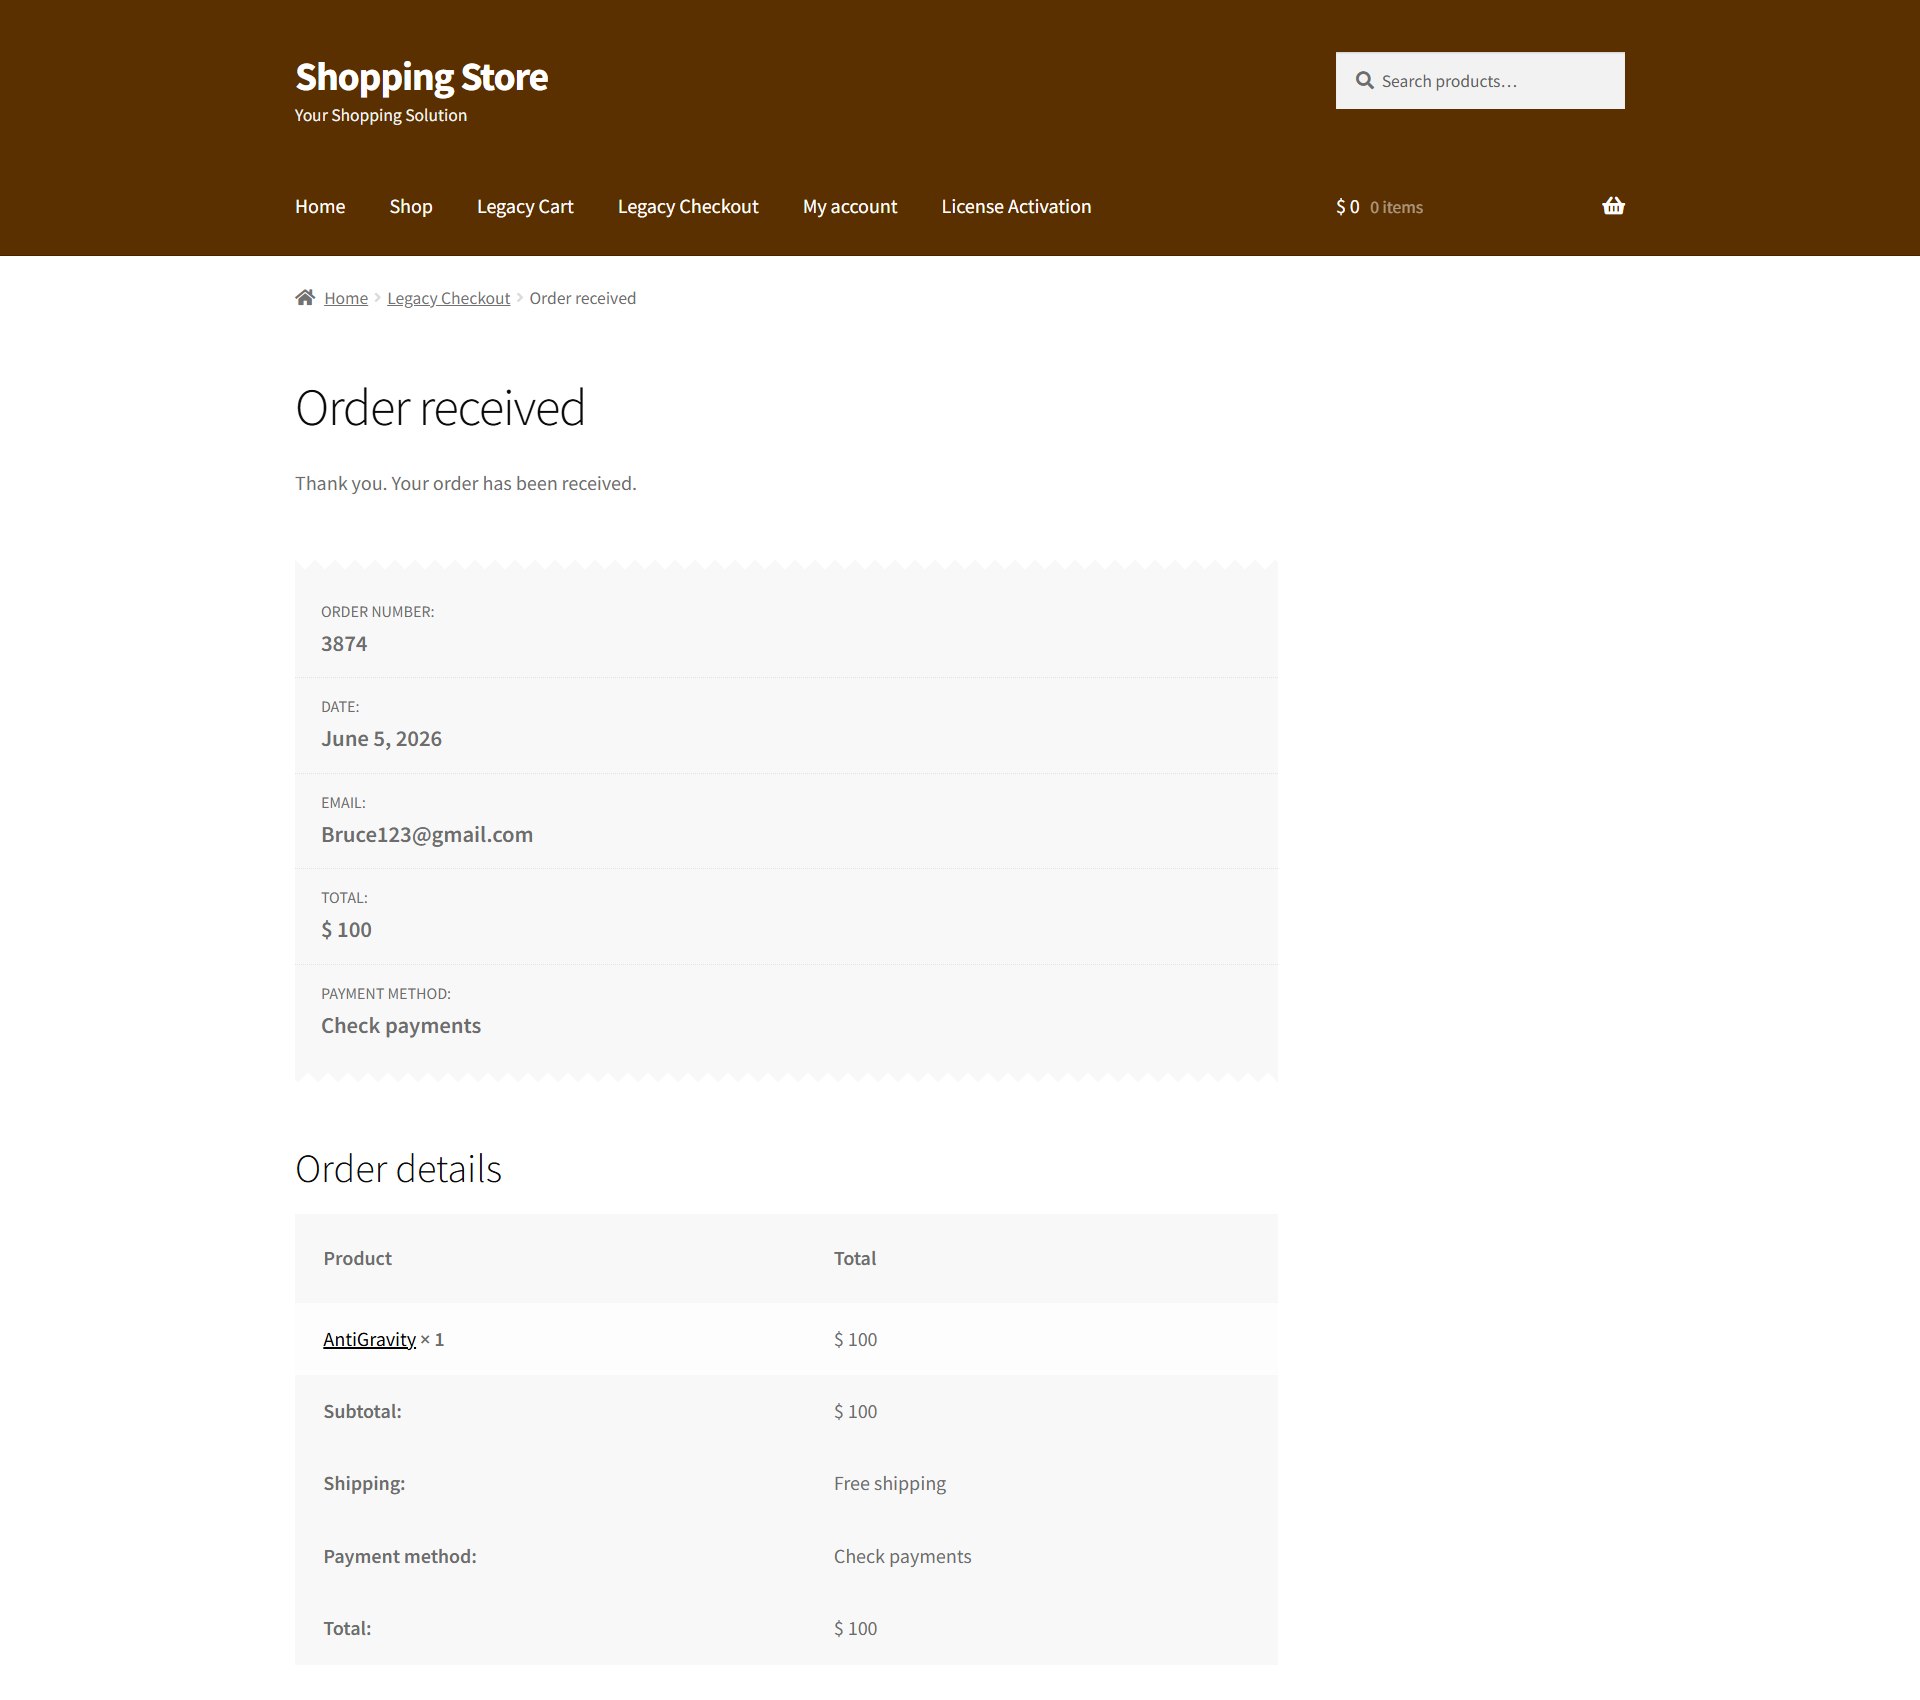
- Once the administrator changes the order status to Completed, the customer will be able to access their license key and download the plugin ZIP file.

- Navigate to the My Account > License Keys.
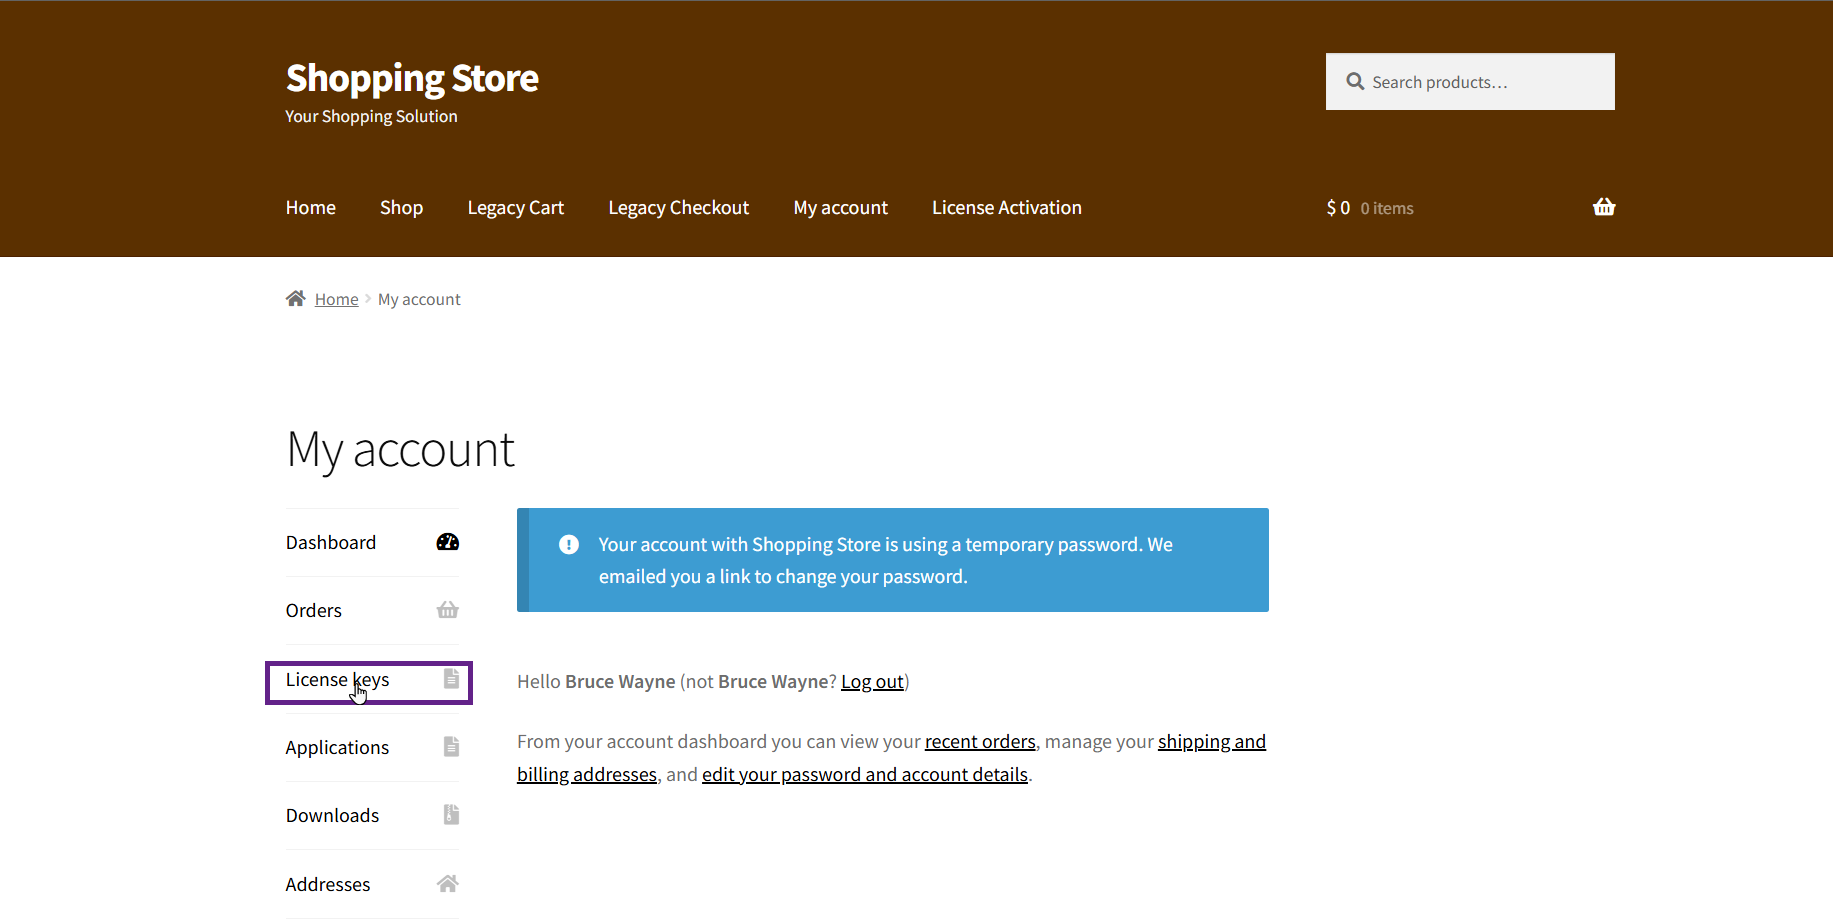
- As you can see, the customer has now received their license key. Click the View button to inspect the full license details.

- The customer can now download the plugin ZIP file.
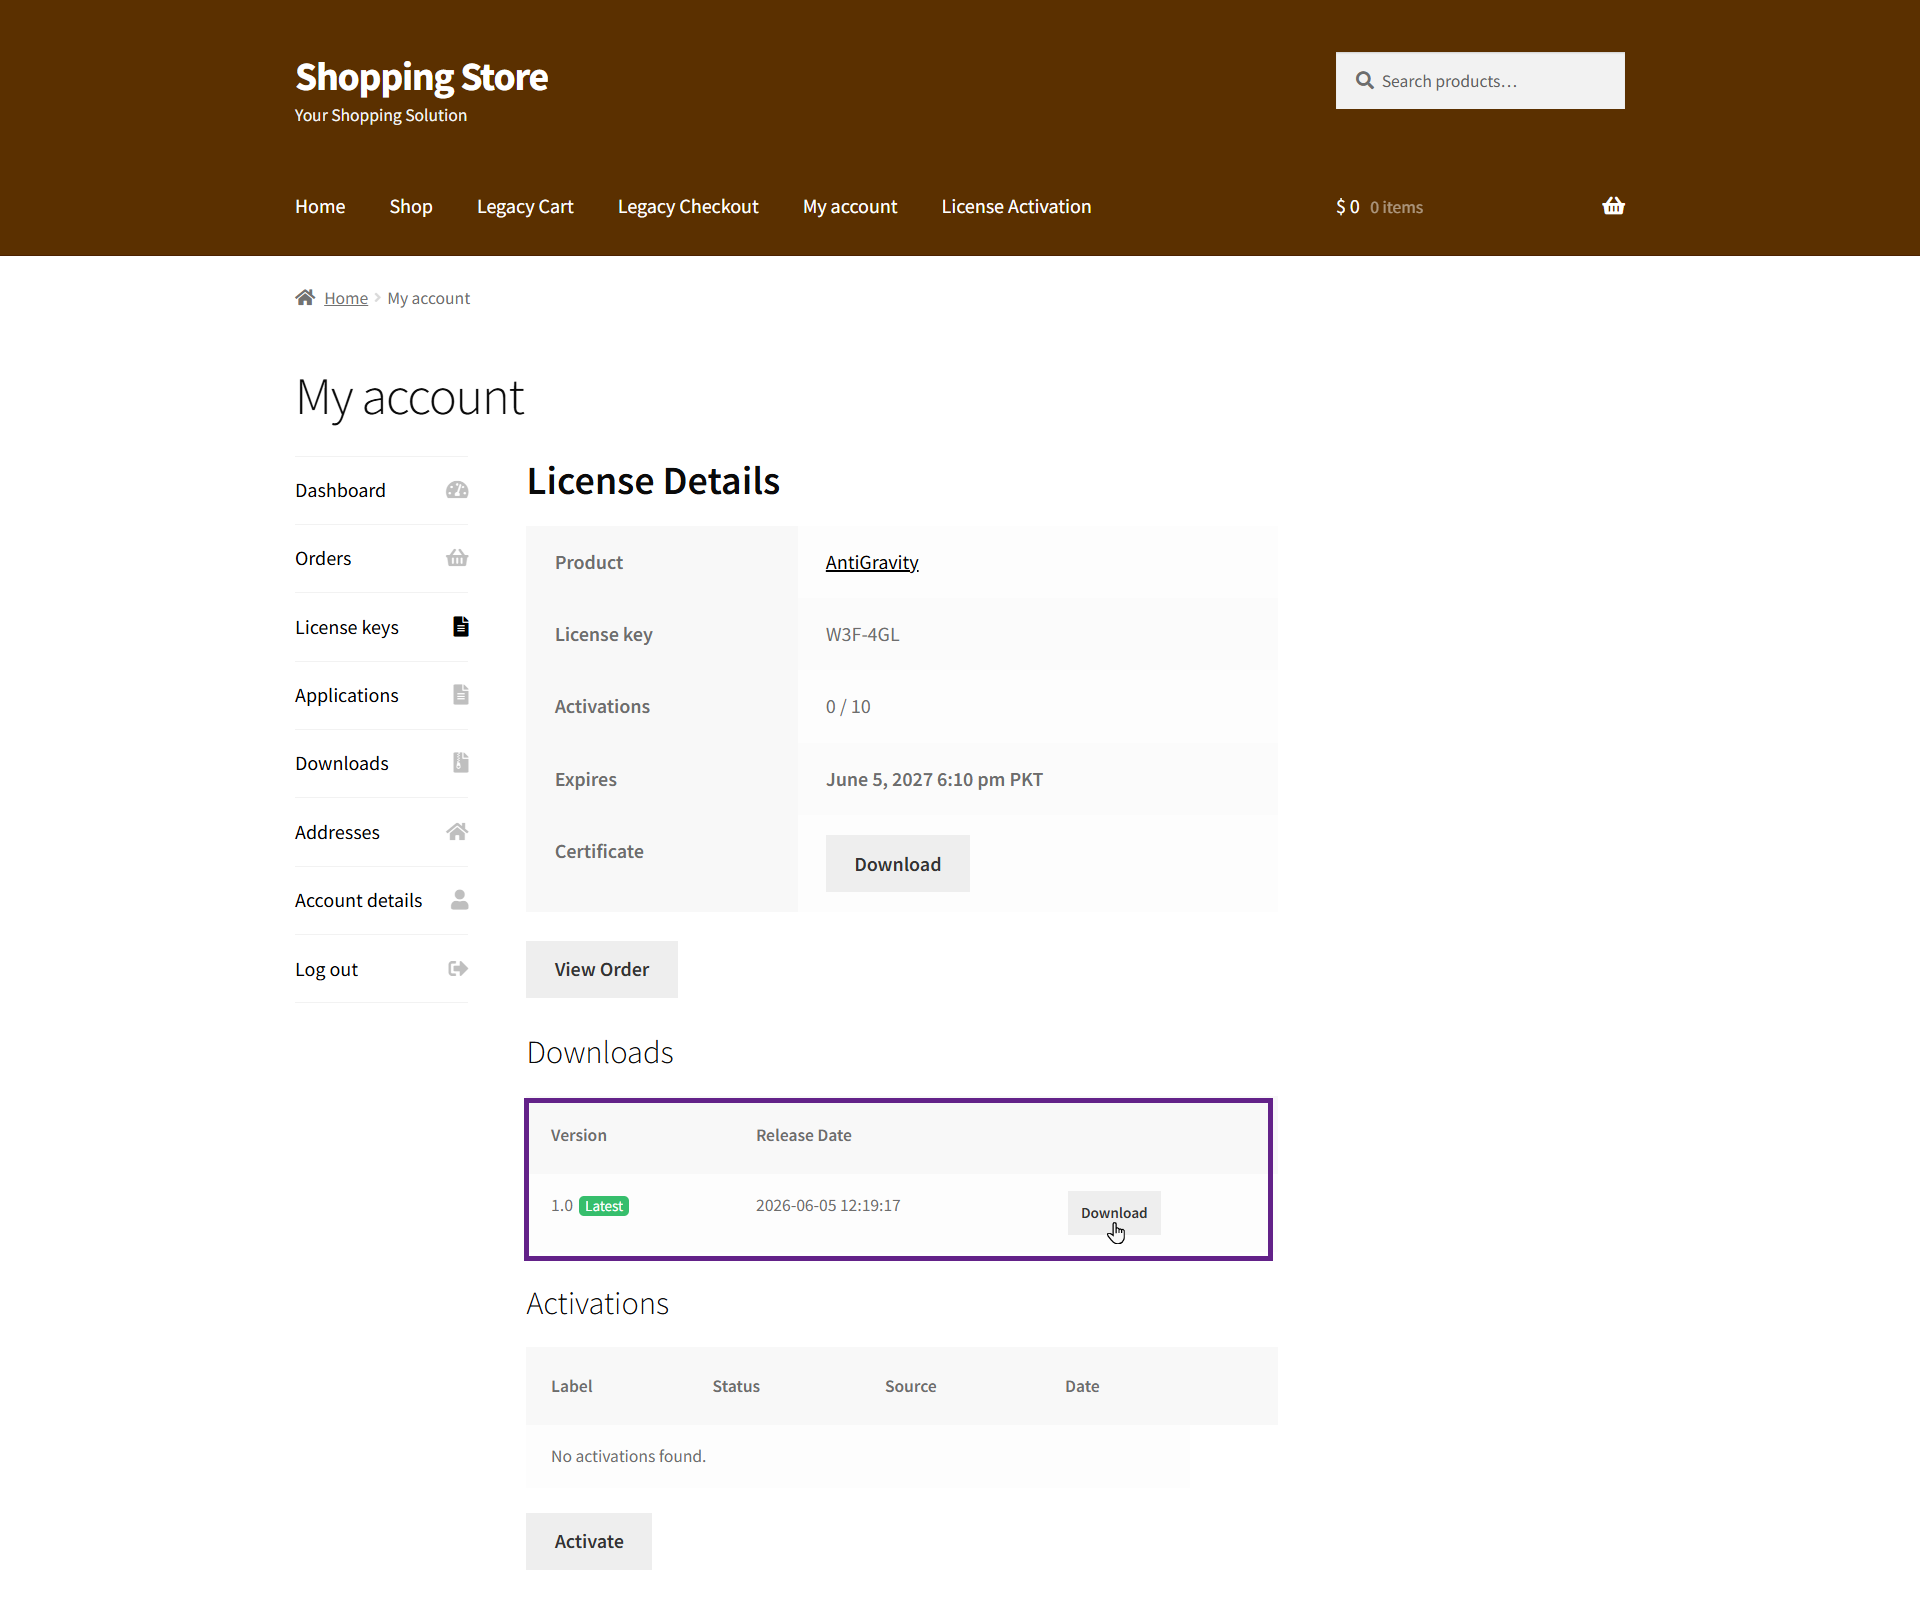
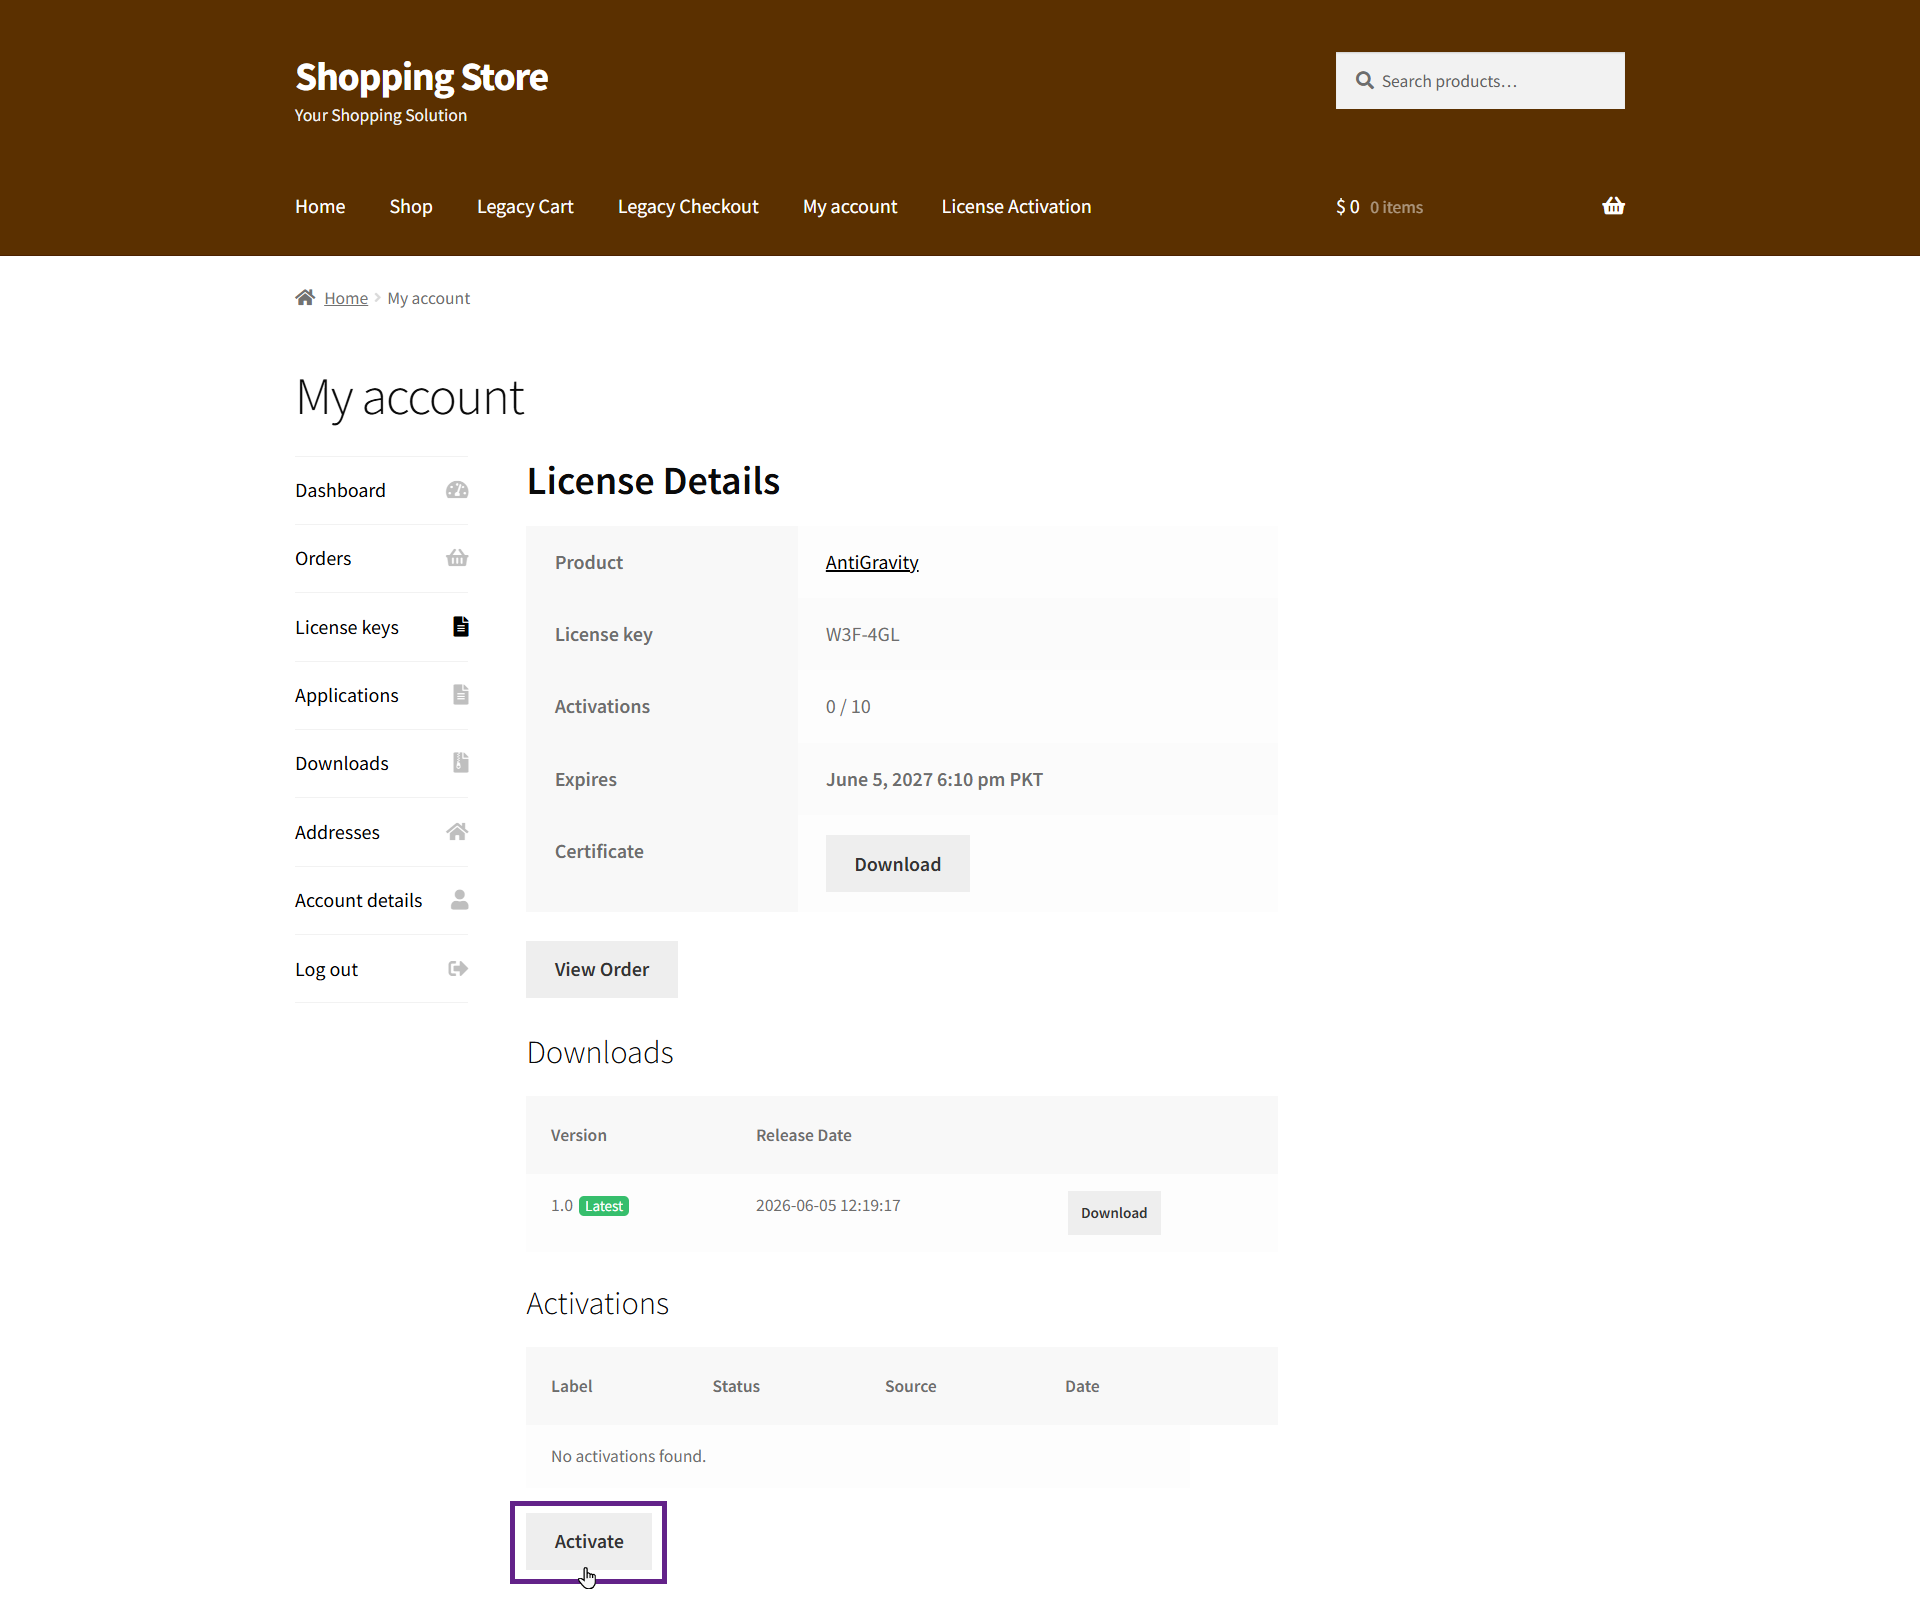
- The customer can directly activate their license key by clicking the Activate button. This is explained in this section.